Landscape photography is one of the most popular genres among keen snappers –after all, who doesn’t like taking a picture of a beautiful vista, especially on a day trip to the great outdoors?
But landscapes can also be one of photography's most intimidating forms, guarded by tripod-wielding gatekeepers with bulging ND filter wallets. Fortunately, these days you don't need lots of gear to take a cracking shot of a lovely view – your iPhone or Android phone is more than up to the job.
Since the best camera is the one you have with you, your smartphone will likely be there when the conditions suddenly present you with an unexpected opportunity. And luckily, landscapes are a relatively straightforward subject to tackle, since your subject doesn’t move, doesn’t generally change much, and is often bathed in interesting light.
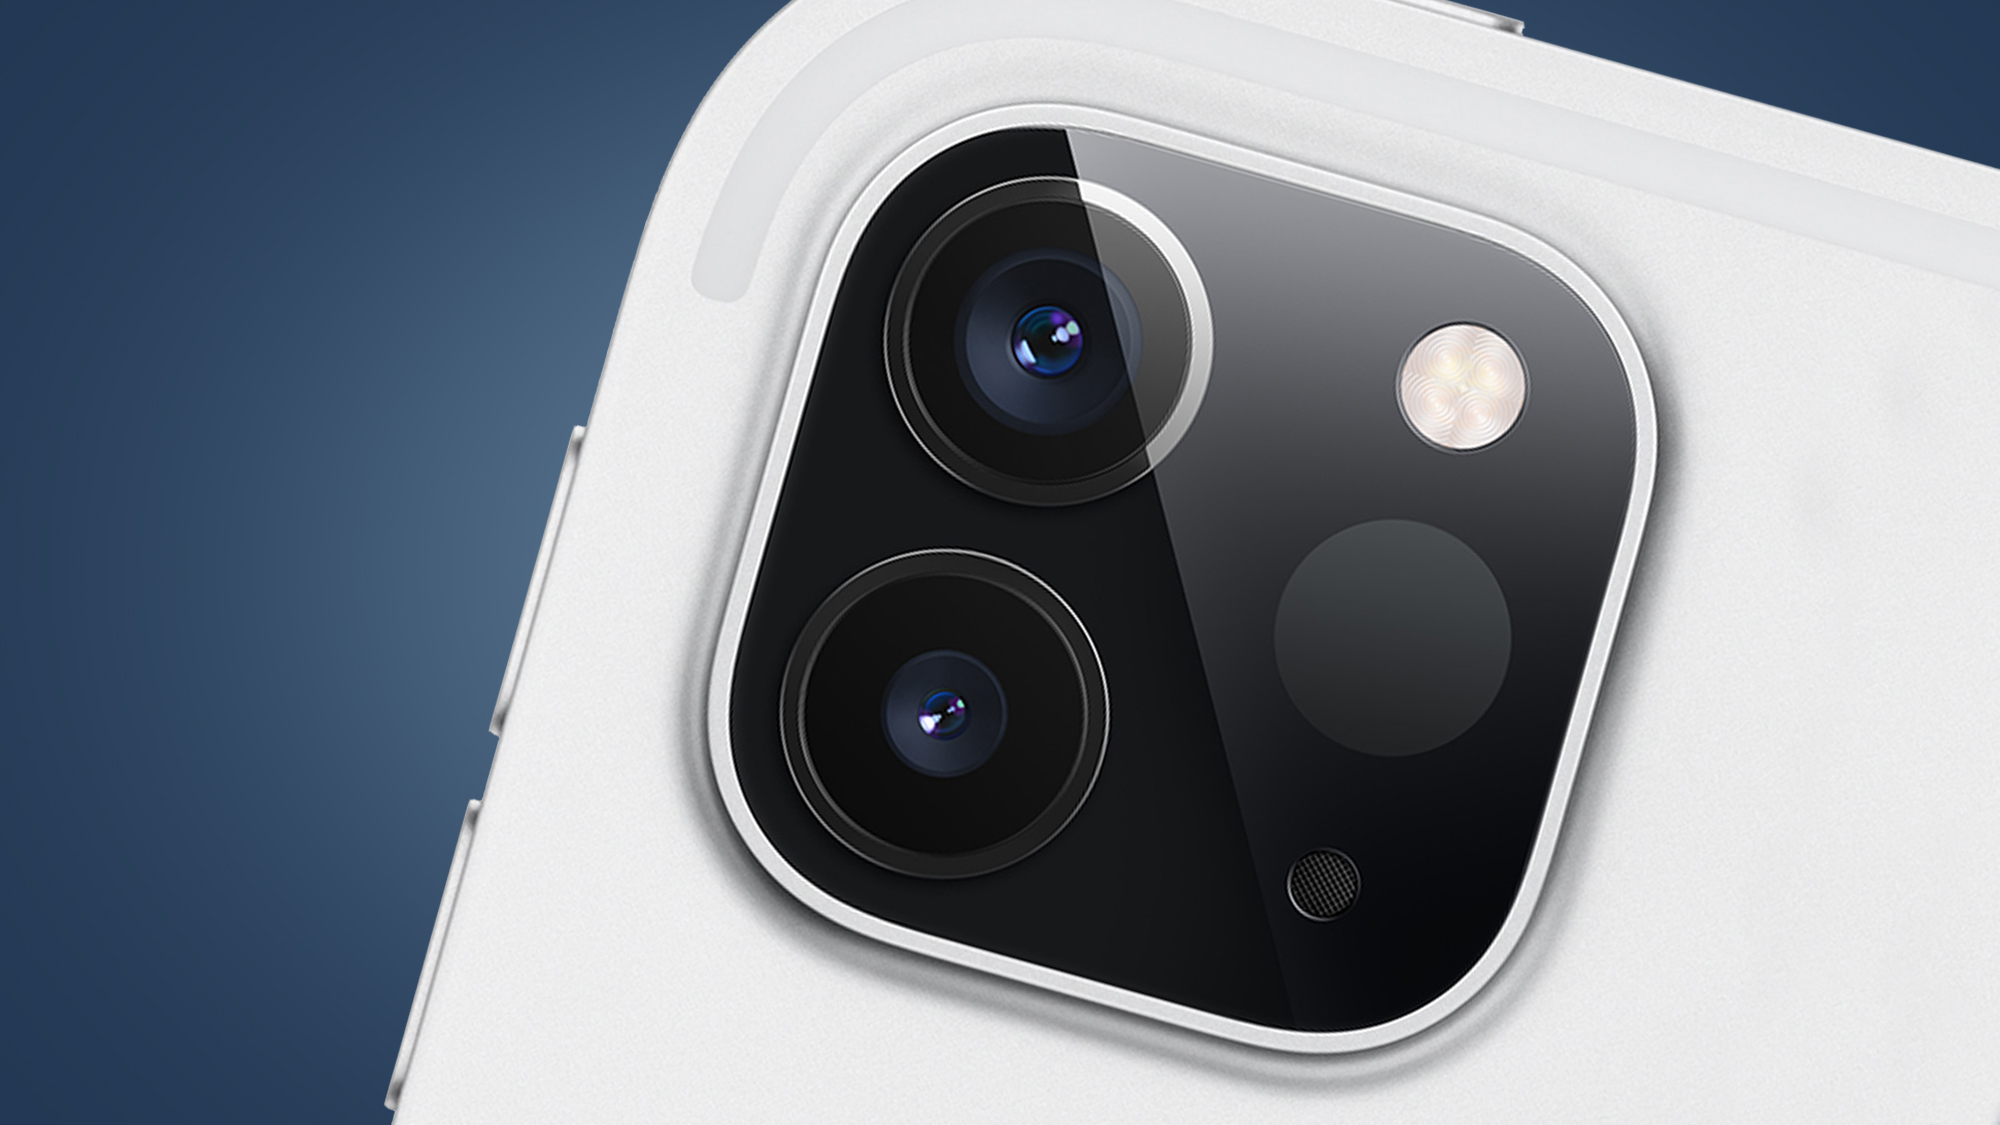
These days, many smartphones are equipped with multiple lenses, which are often perfect for landscape photography. You’ll probably find yourself using the standard lens most often, but an ultra-wide angle is fantastic for capturing even more of the scene. Meanwhile, telephoto lenses can be used to pick out details or abstracts in the landscape. All three lenses are the kind you'd find in a pro landscape photographer's bag.
If you want to take your photography a little further than just a quick snapshot, though, there are some simple ways that you can elevate your mobile landscape photography. With just a little forward thinking, creativity and photo editing, you can create impressive images that will both flex your creative muscle and give you a moving memento of the spectacular places you've visited on your travels.
With this mind, we asked two pro photographers to give us their best tips for boosting the quality of the mobile landscape photos. Although our two pros are both using iPhones, these tips can generally be applied to most phones, even if some of the exact apps mentioned aren’t available for Android.
How to shoot pro landscape photos with your iPhone or Android phone:
1. Choose your ratio
Professional photographer Matt Hart uses a variety of cameras, but says it's the iPhone 12 Pro that he uses most often, especially for landscape – simply because the ease of carrying it, something which is particularly important when hiking to distant locations.
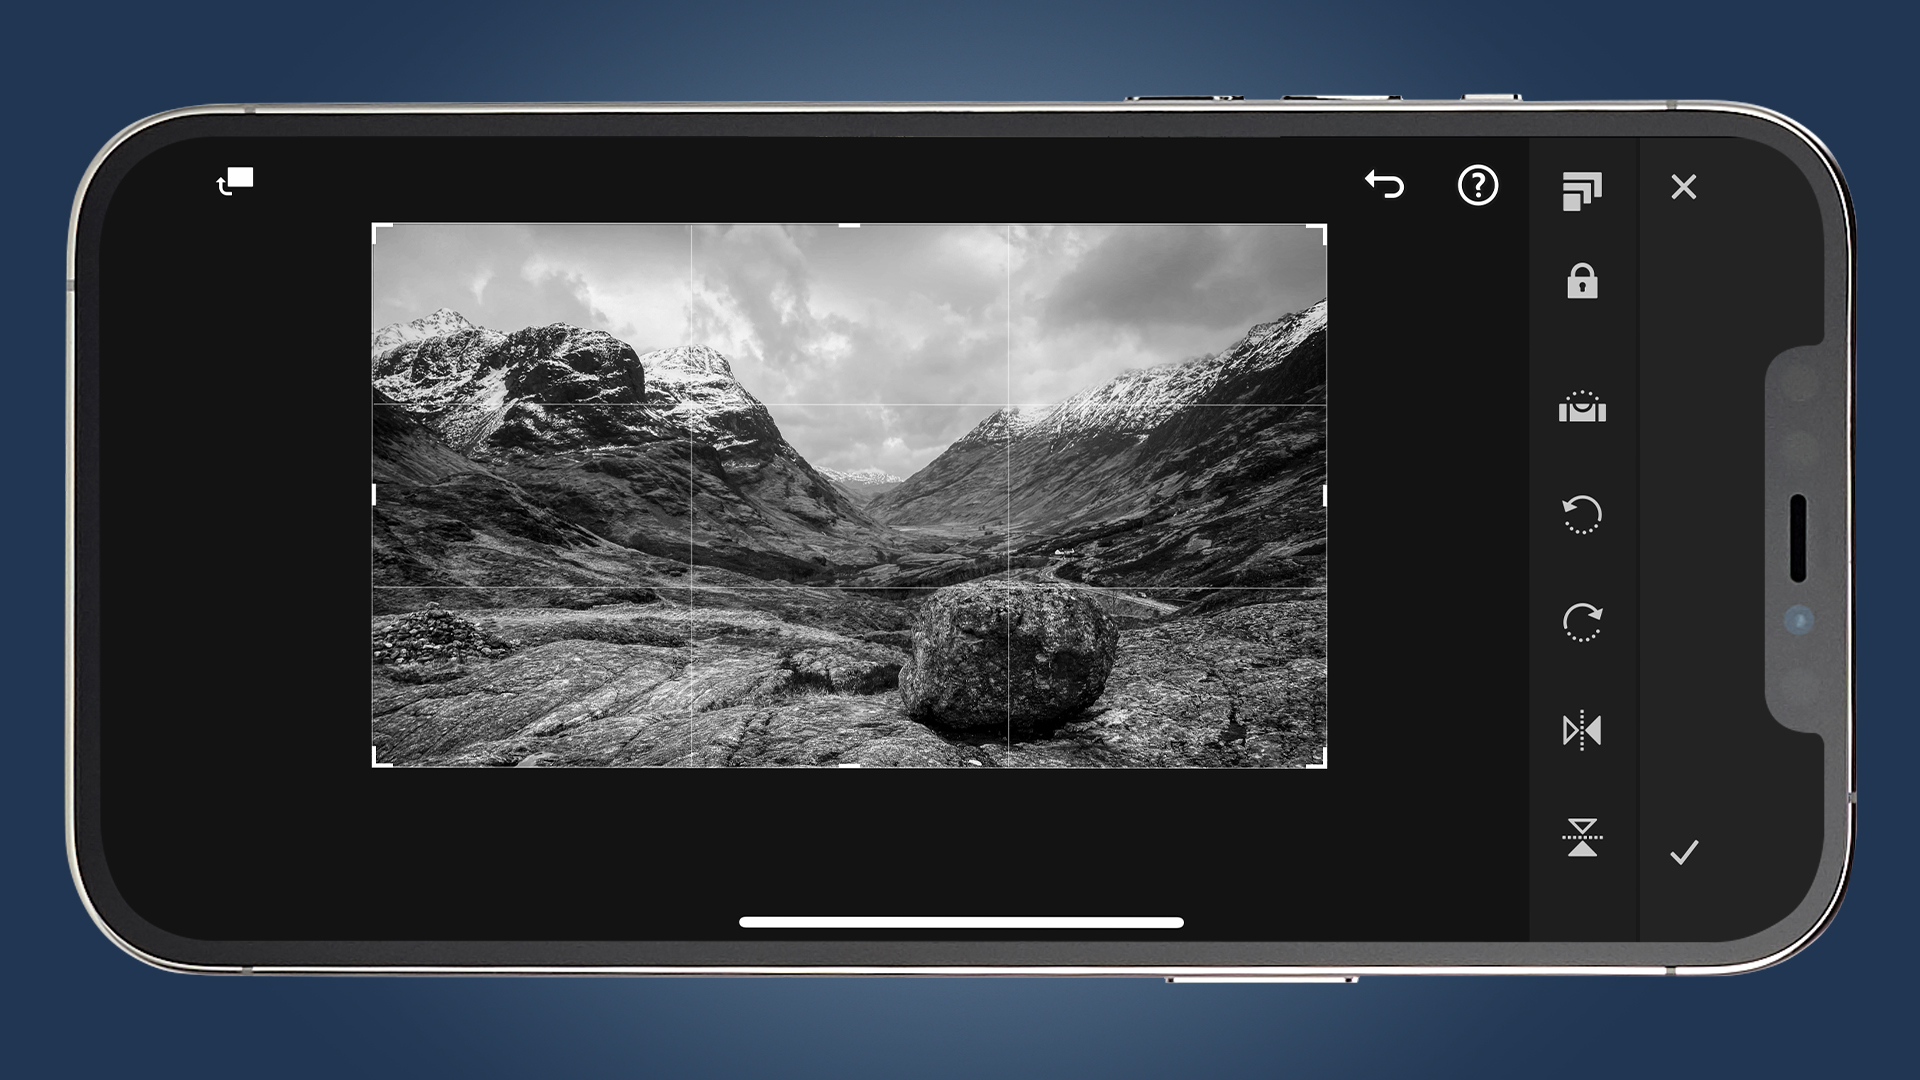
He suggests setting up your phone when you first buy it, or before you’re about to head off, with taking pictures in mind. “I always make sure I have the best camera set up for my intended output. I can change this as I go, but prefer to make sure it’s set up first" he says.
"A good example is that I tend to shoot for my output – so if that’s for Instagram, I might shoot in 4:3 or square aspect ratio. But for most others, it will either be 4:3 or 16:9 – I can always crop afterwards. I have been known to shoot three shots just so I have options.”
2. Compose yourself
Photographer Matt Hart says, “I always turn grid lines on when I’m shooting with my phone. I’ve been taking photos all my life, so while I have a good eye for composition, when I’m grabbing a quick snap with my phone, the grid lines make me think about the rule of thirds as soon as I see them, they make me slow down.”
The rule of thirds is a common landscape composition tip which is simple to follow. Start by switching on the grid lines on your phone. On iPhone, this is outside the camera app in your phone's general 'Settings' followed by 'Camera'. On Android, it'll be in the default camera app's gear icon.
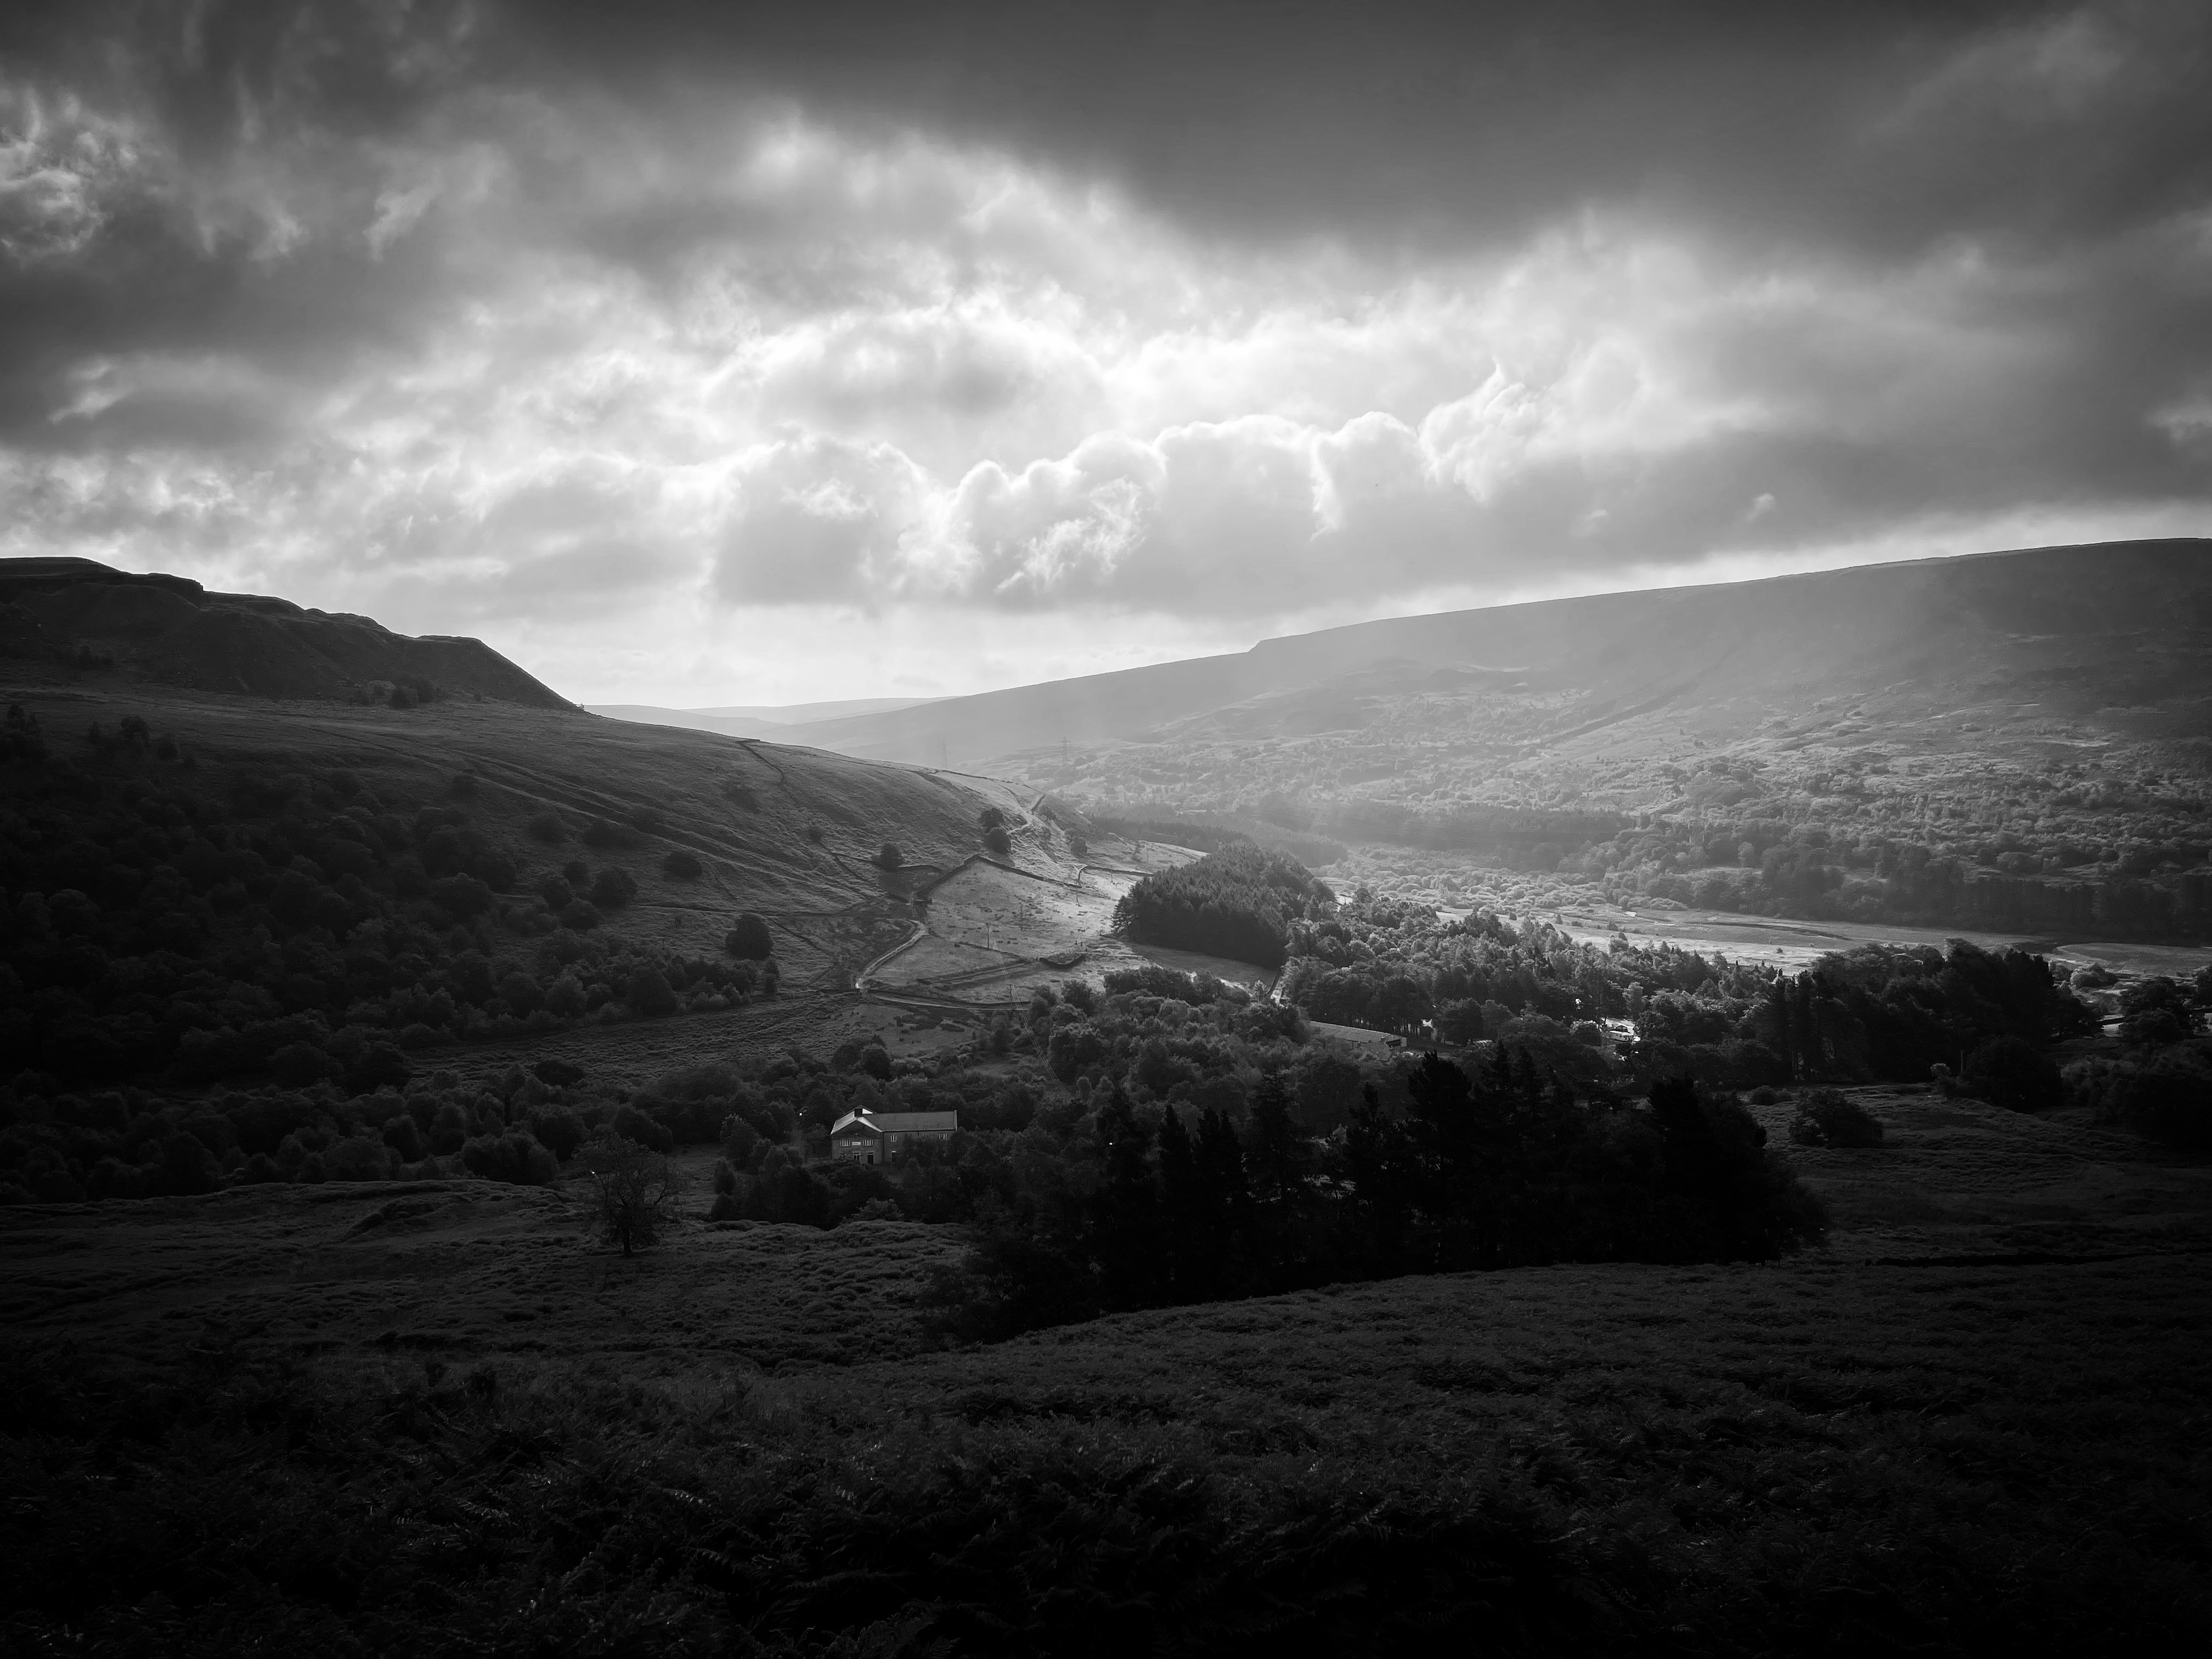
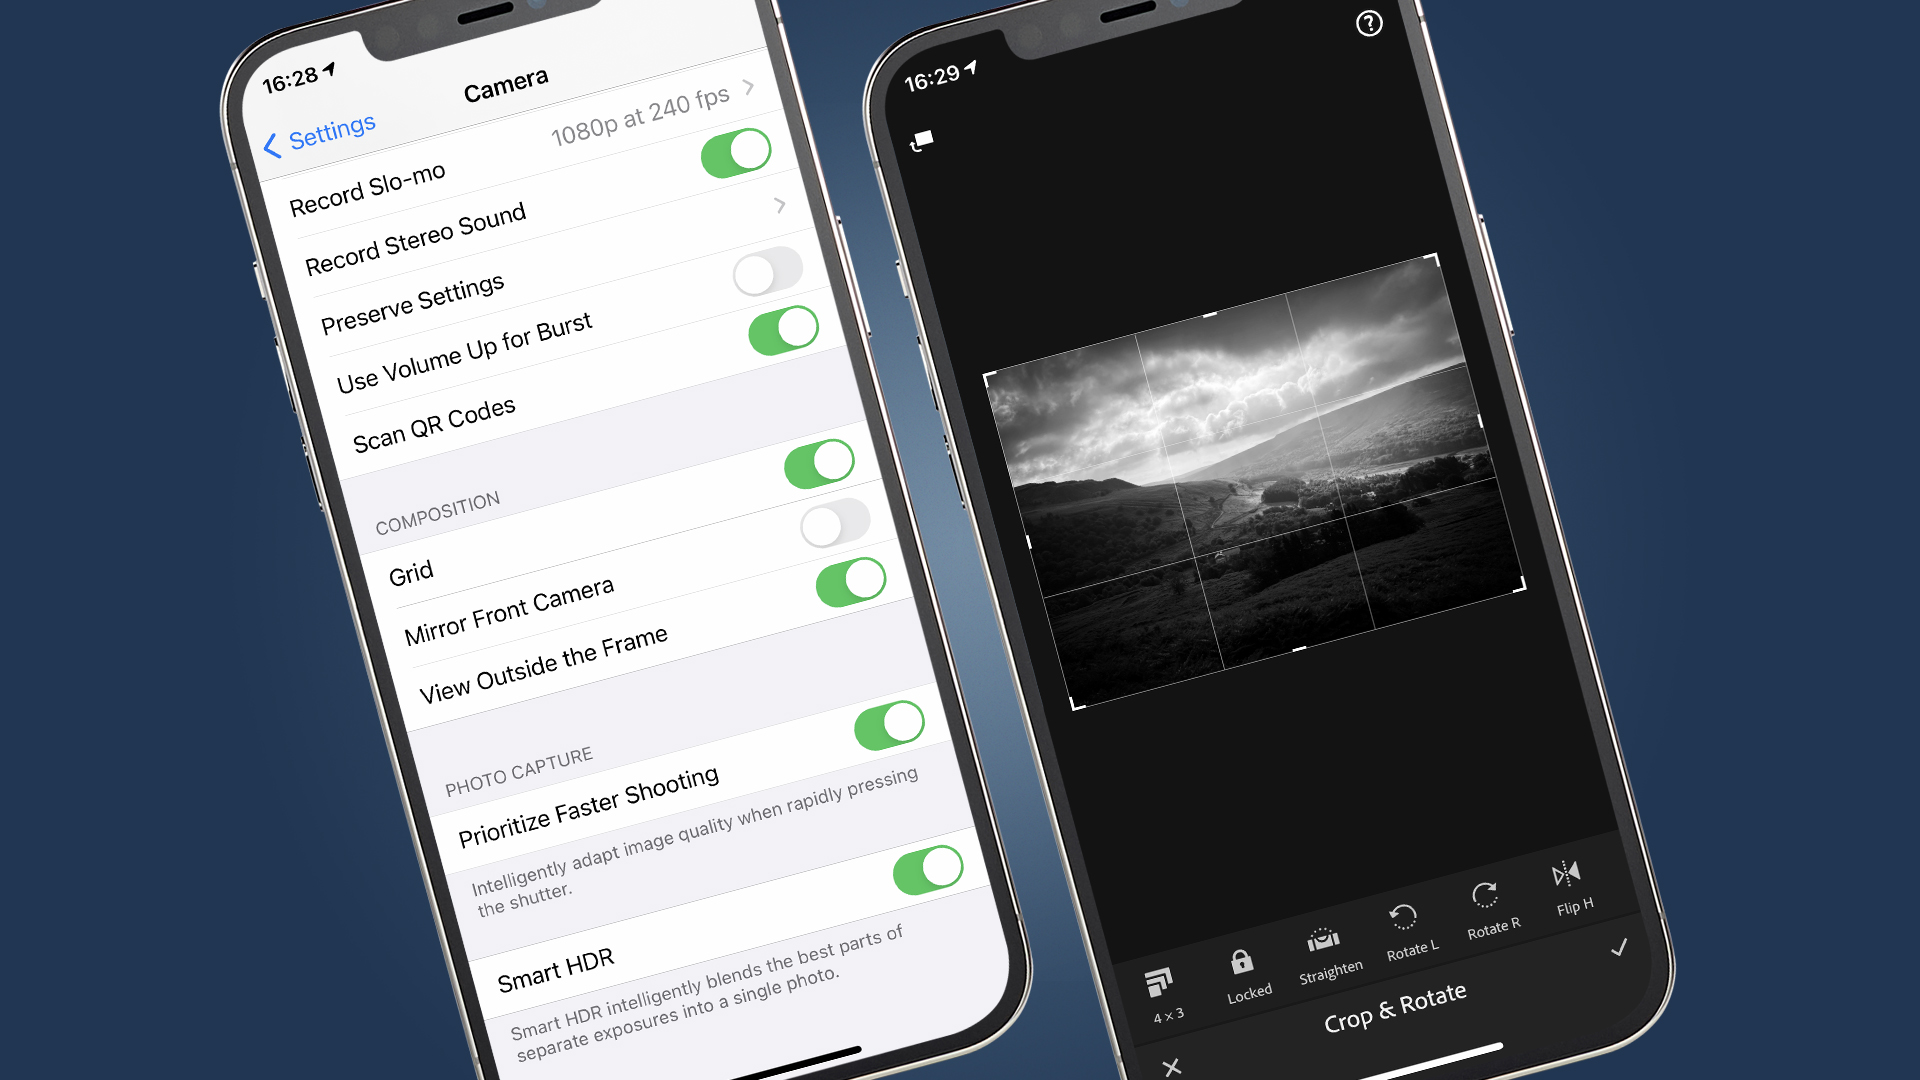
Now place the main subject of your photo in any of the four locations where the grid lines intersect. It’s a rule that can also be broken to great effect, but especially when you’re just starting to try and improve, it’s a straightforward way to raise your game.
Matt continues, “You could also use the outside frame of the phone to line up both horizontals and verticals (for a straight shot). If the top of your phone is parallel to the horizon then you can’t go far wrong.”
3. Dabble with ICM
Landscape pro Charlotte Bellamy has been creating landscapes with intentional camera movement (ICM) for a number of years.
This technique involves using slow shutter speeds along with camera or phone movement to creatively blur a subject, and it works particularly well with landscapes.
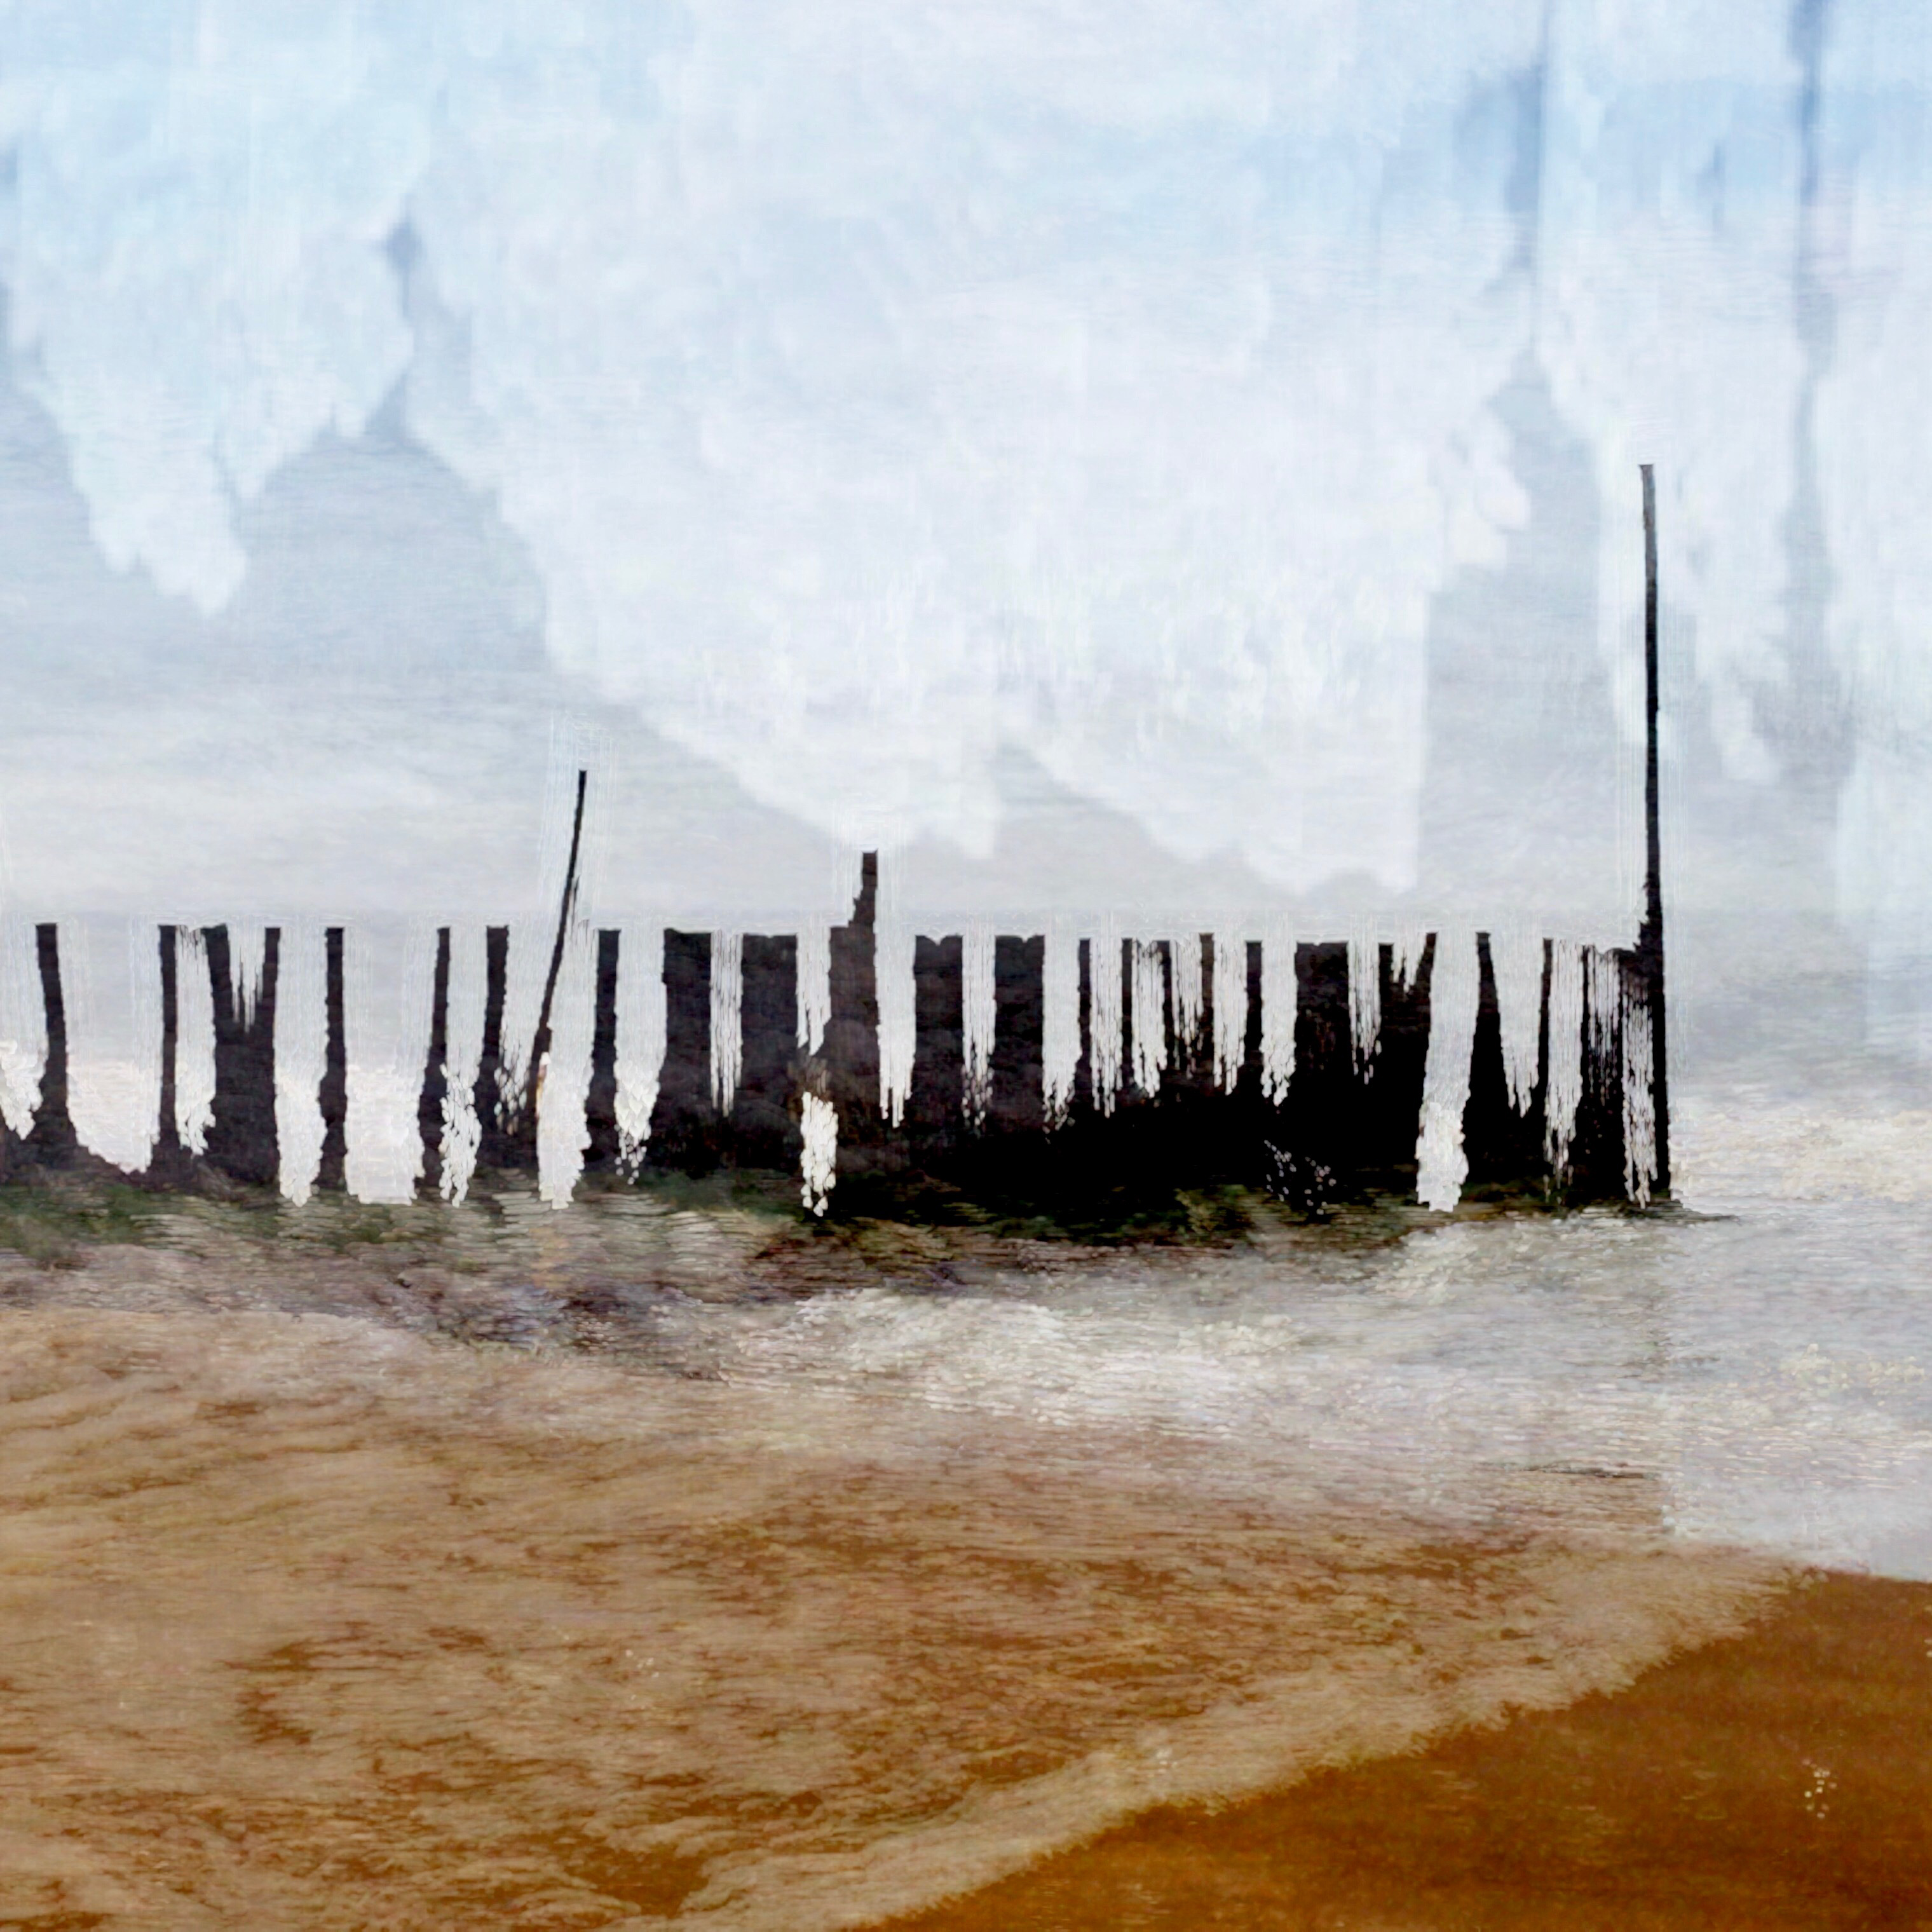
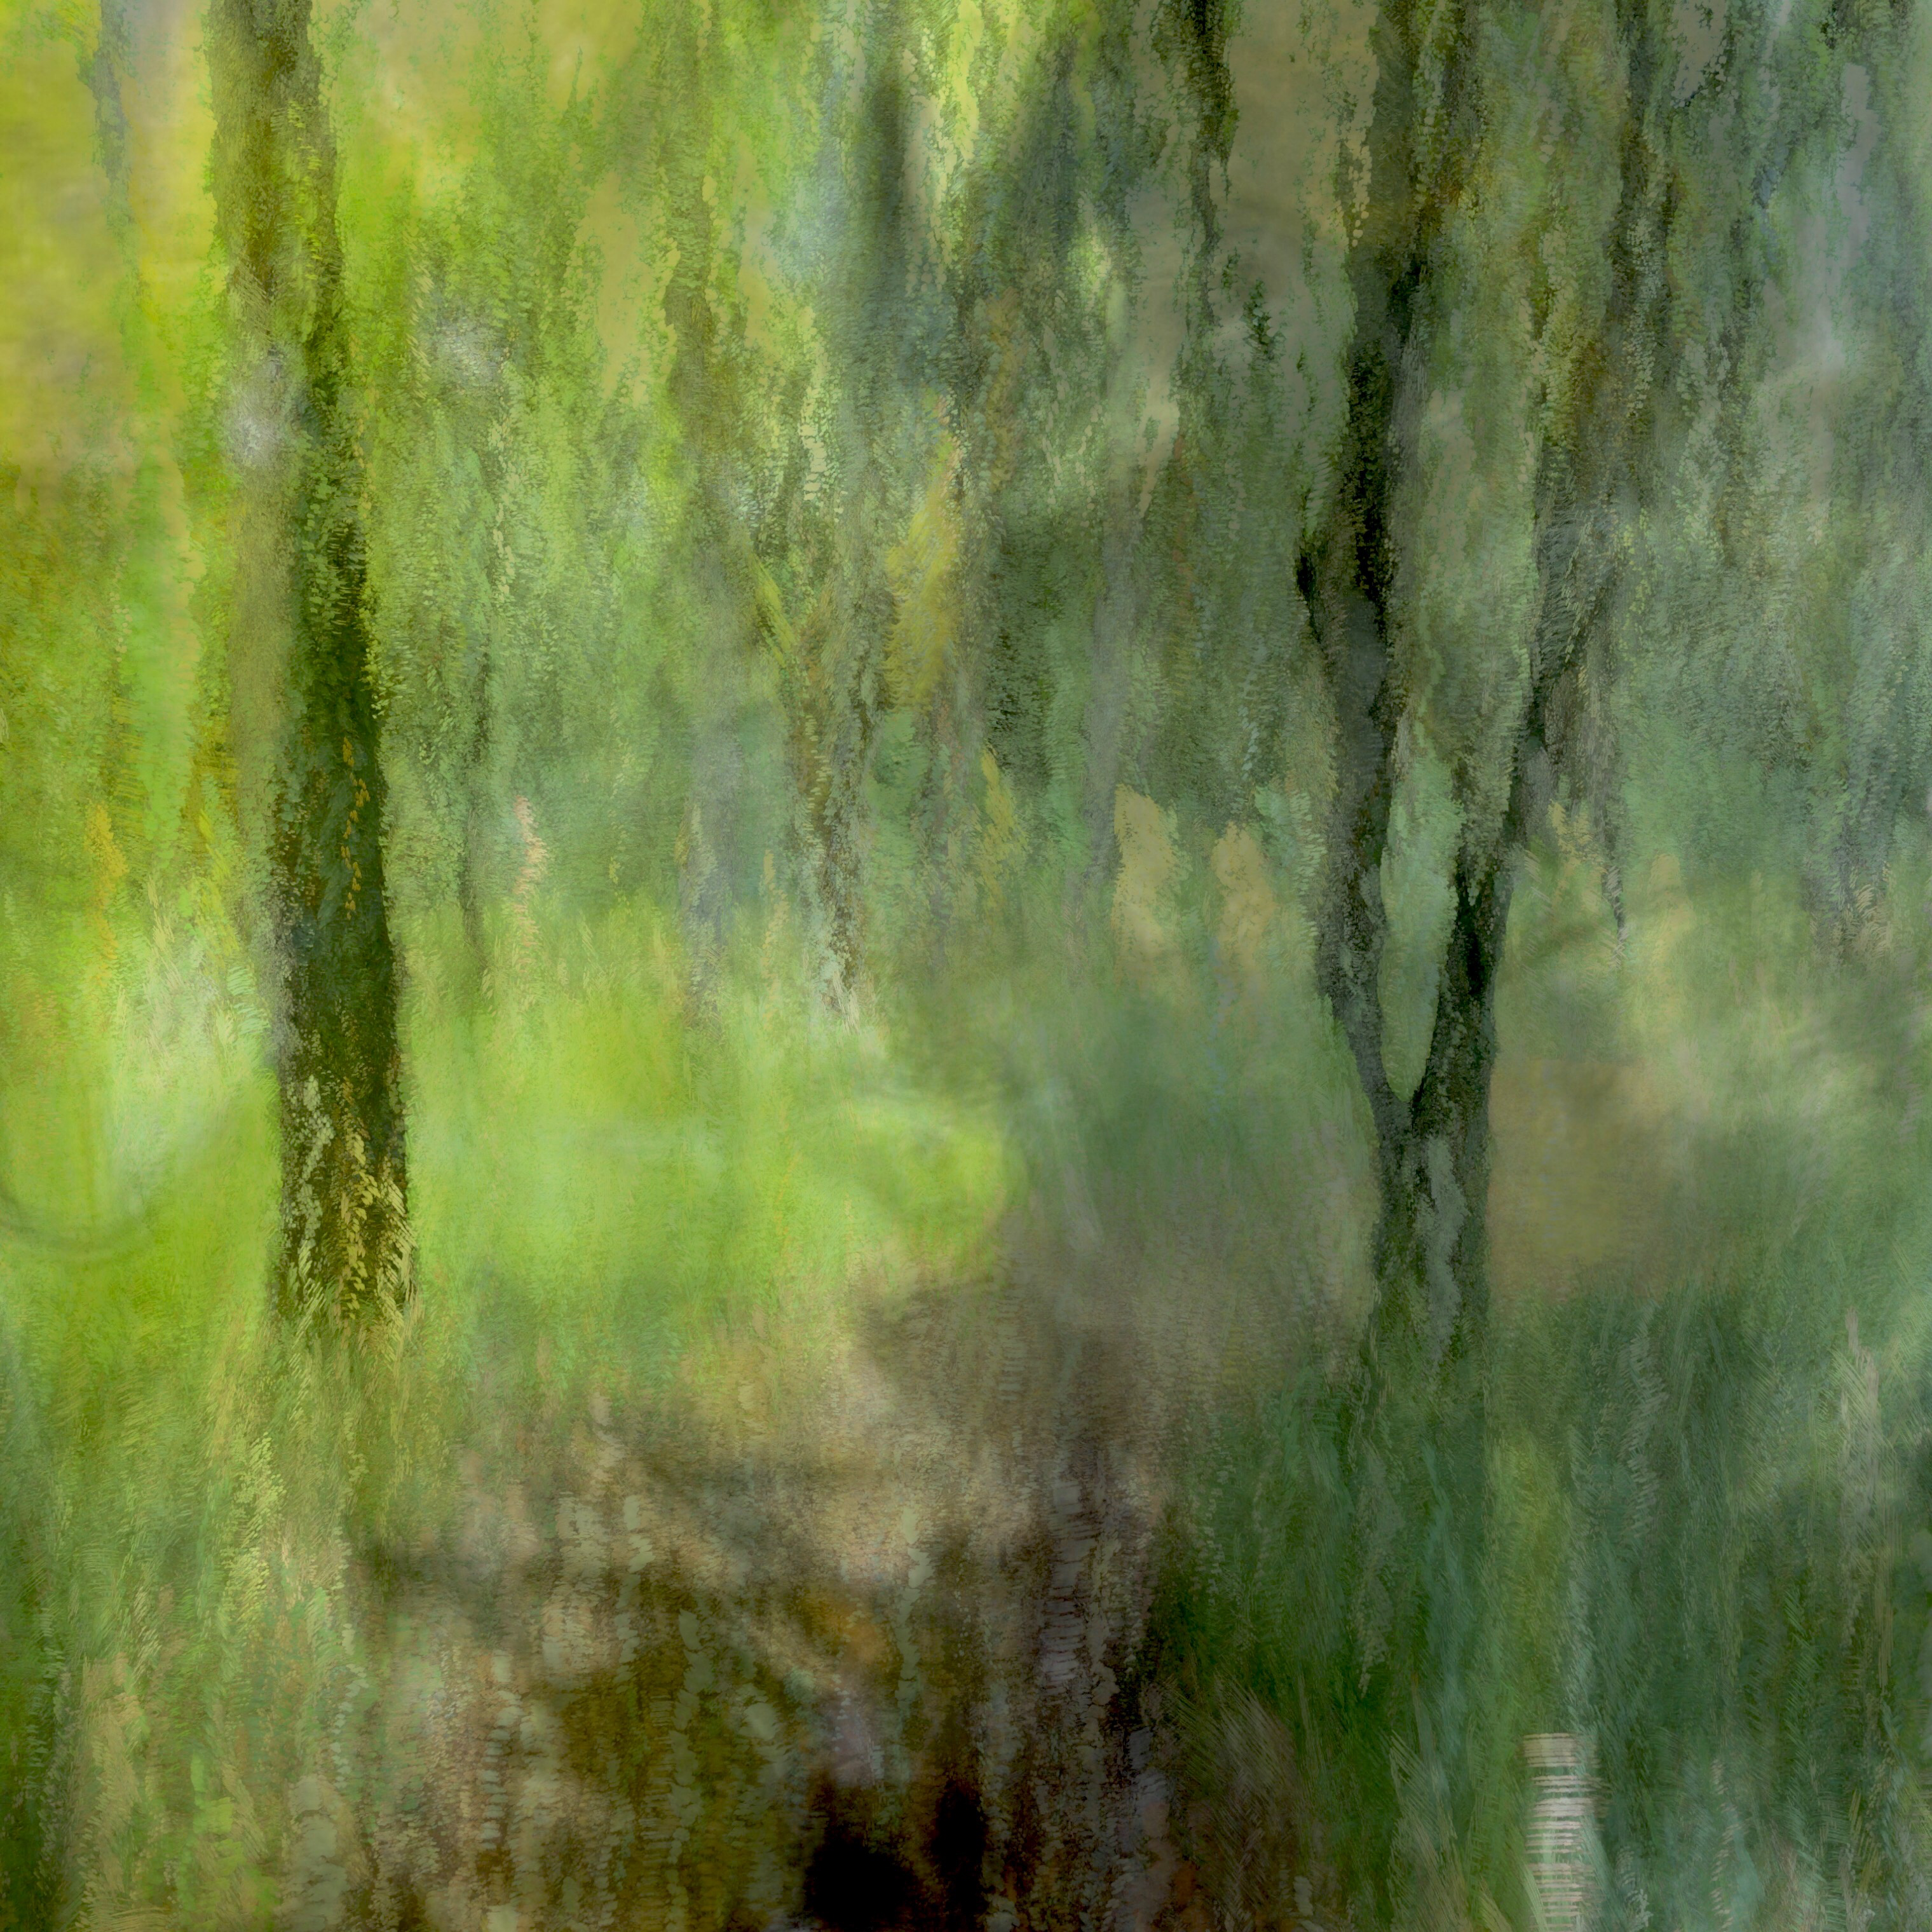
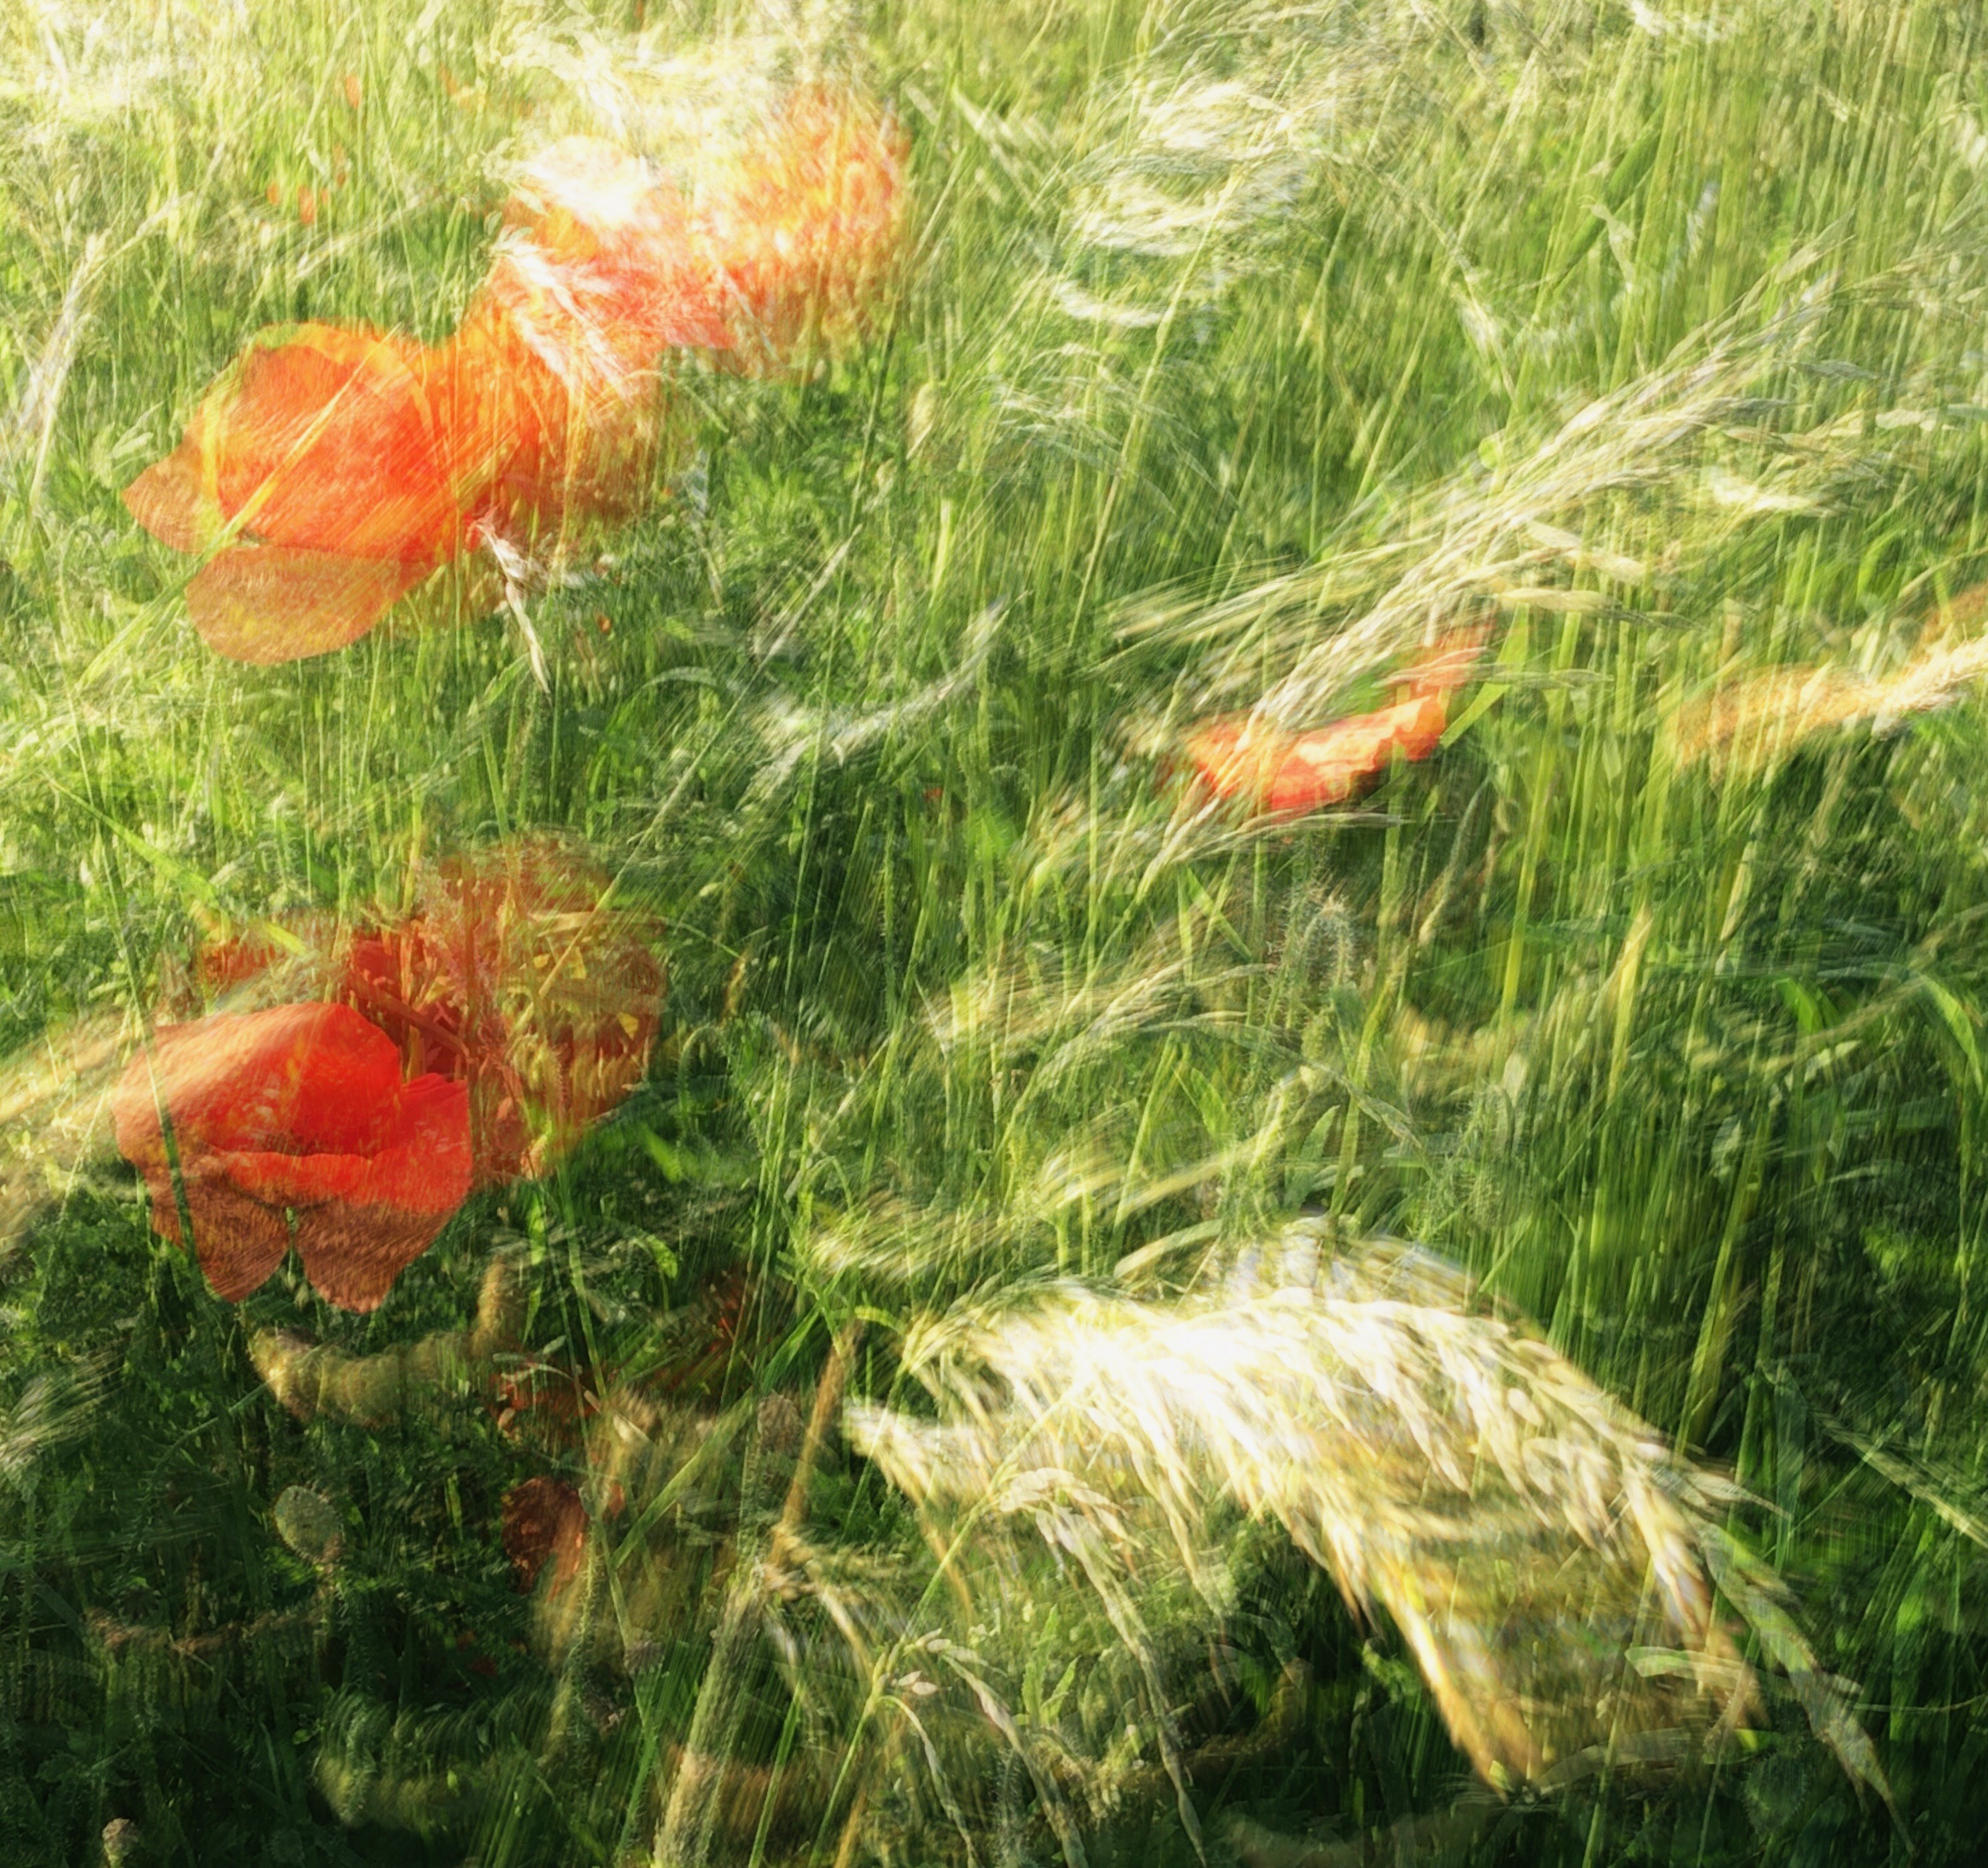
It might surprise you to learn that it can be achieved with a smartphone. Previously, Charlotte used her DSLR, but has found that using her phone offers a free and creative way to make this style of image. She teaches landscape workshops and encourages students to experiment with their phones as part of the creative process, with much of her work shared on her Instagram page.
“I am using an iPhone 7 – so you don’t necessarily need something super up-to-date," she says. "With the help of couple of apps, I love following the whole process through from taking the image to merging and editing images ready to share in various guises."
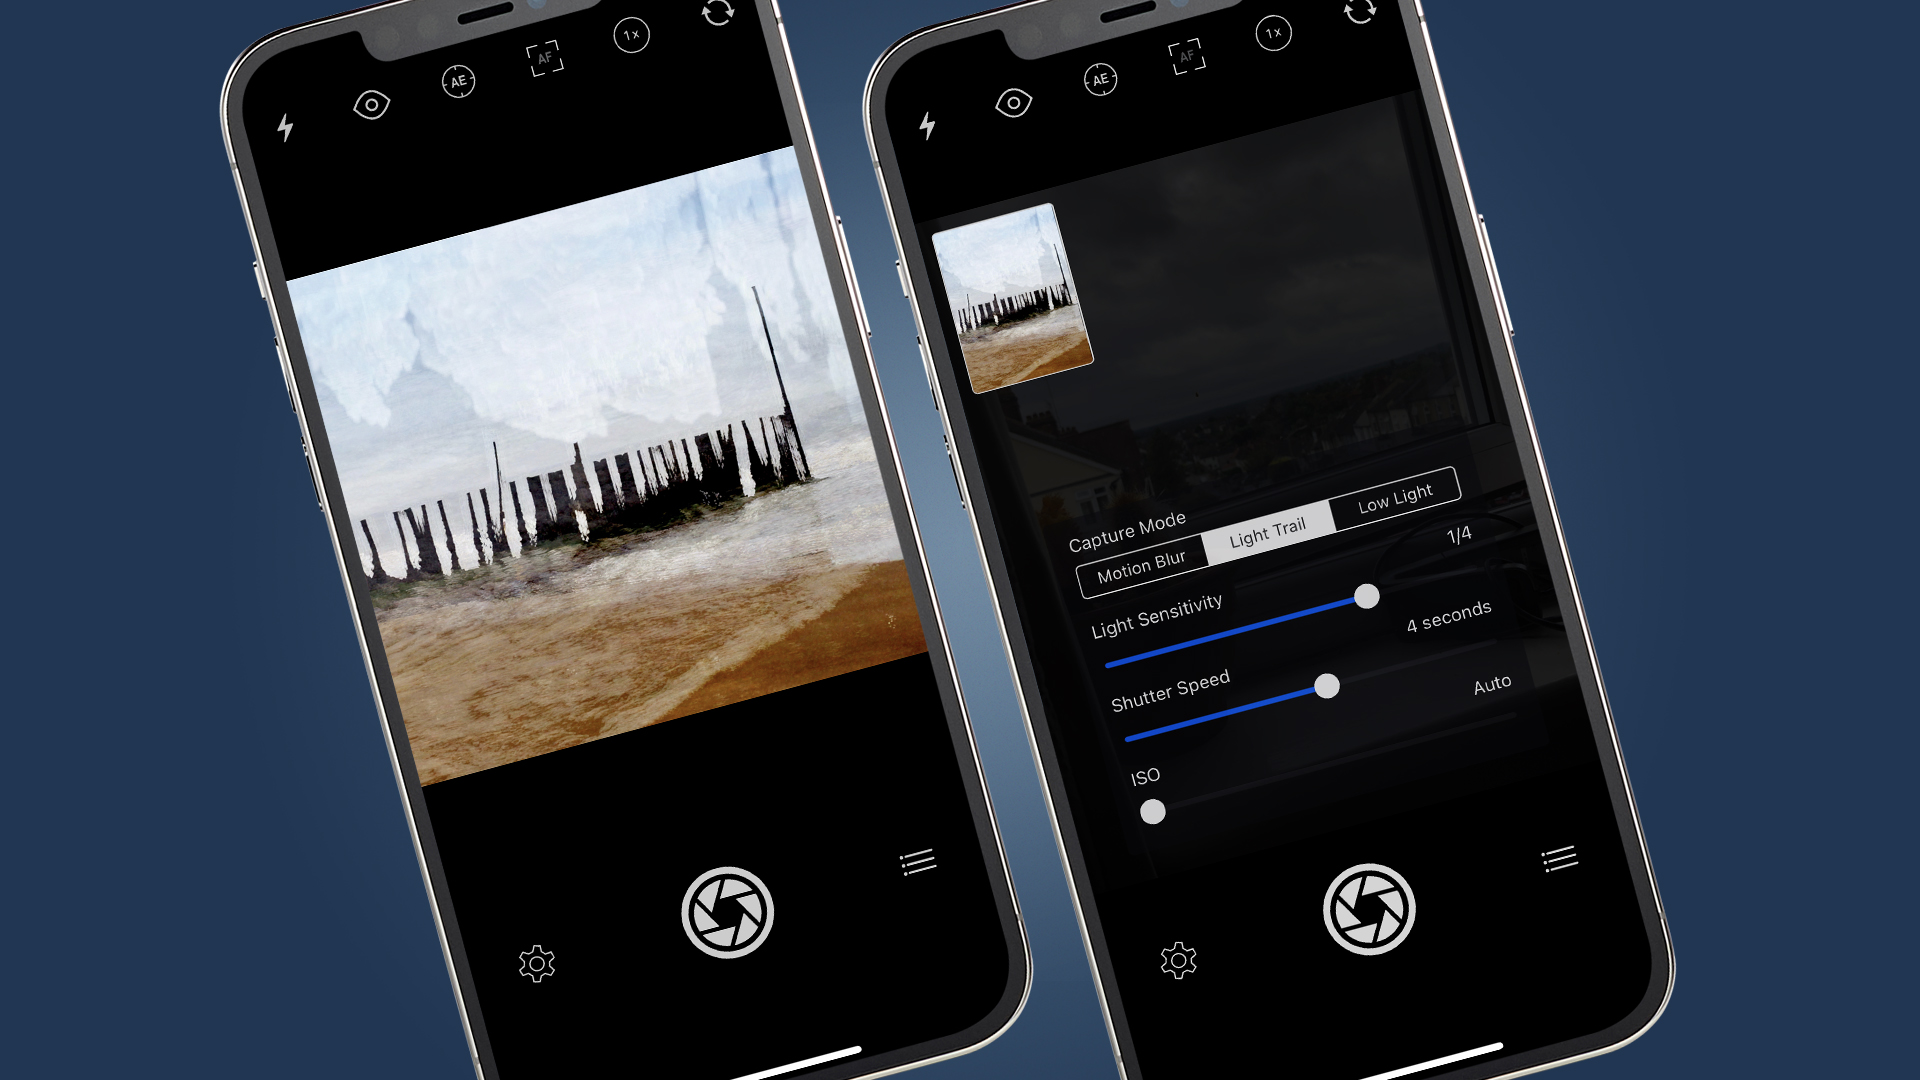
So where to get started? “My go to app for ICM photography is Slow Shutter Cam," she says. This is an iOS app, but Android apps like Camera FV-5 perform in a similar way. "At $1.99 / £1.79 it is worth the purchase, and offers a simple way to create longer exposures times – so it can be useful for other types of image too, not just ICM" she adds.
“I use the ‘light trail’ setting, with a 2-4 second exposure normally. I experiment with longer and shutter speeds, as well as adjusting the light sensitivity when appropriate. As you start to take the image, and move the phone around, you can see what’s happening on the screen, adjusting your direction and speed as you go" she says. “If I want to take it a step further, blending ICM images to create multiple exposures, my go-to apps are Photosplit (paid) or Pixlr (free).”
4. Or experiment with black and white
Almost all smartphones allow you to shoot directly in black and white, or to make conversions directly in the native camera app.
Some phones have a dedicated black-and-white mode, while others give you the option to switch on various black-and-white filters. If you can, it’s best to shoot in black and white, rather than edit afterwards.
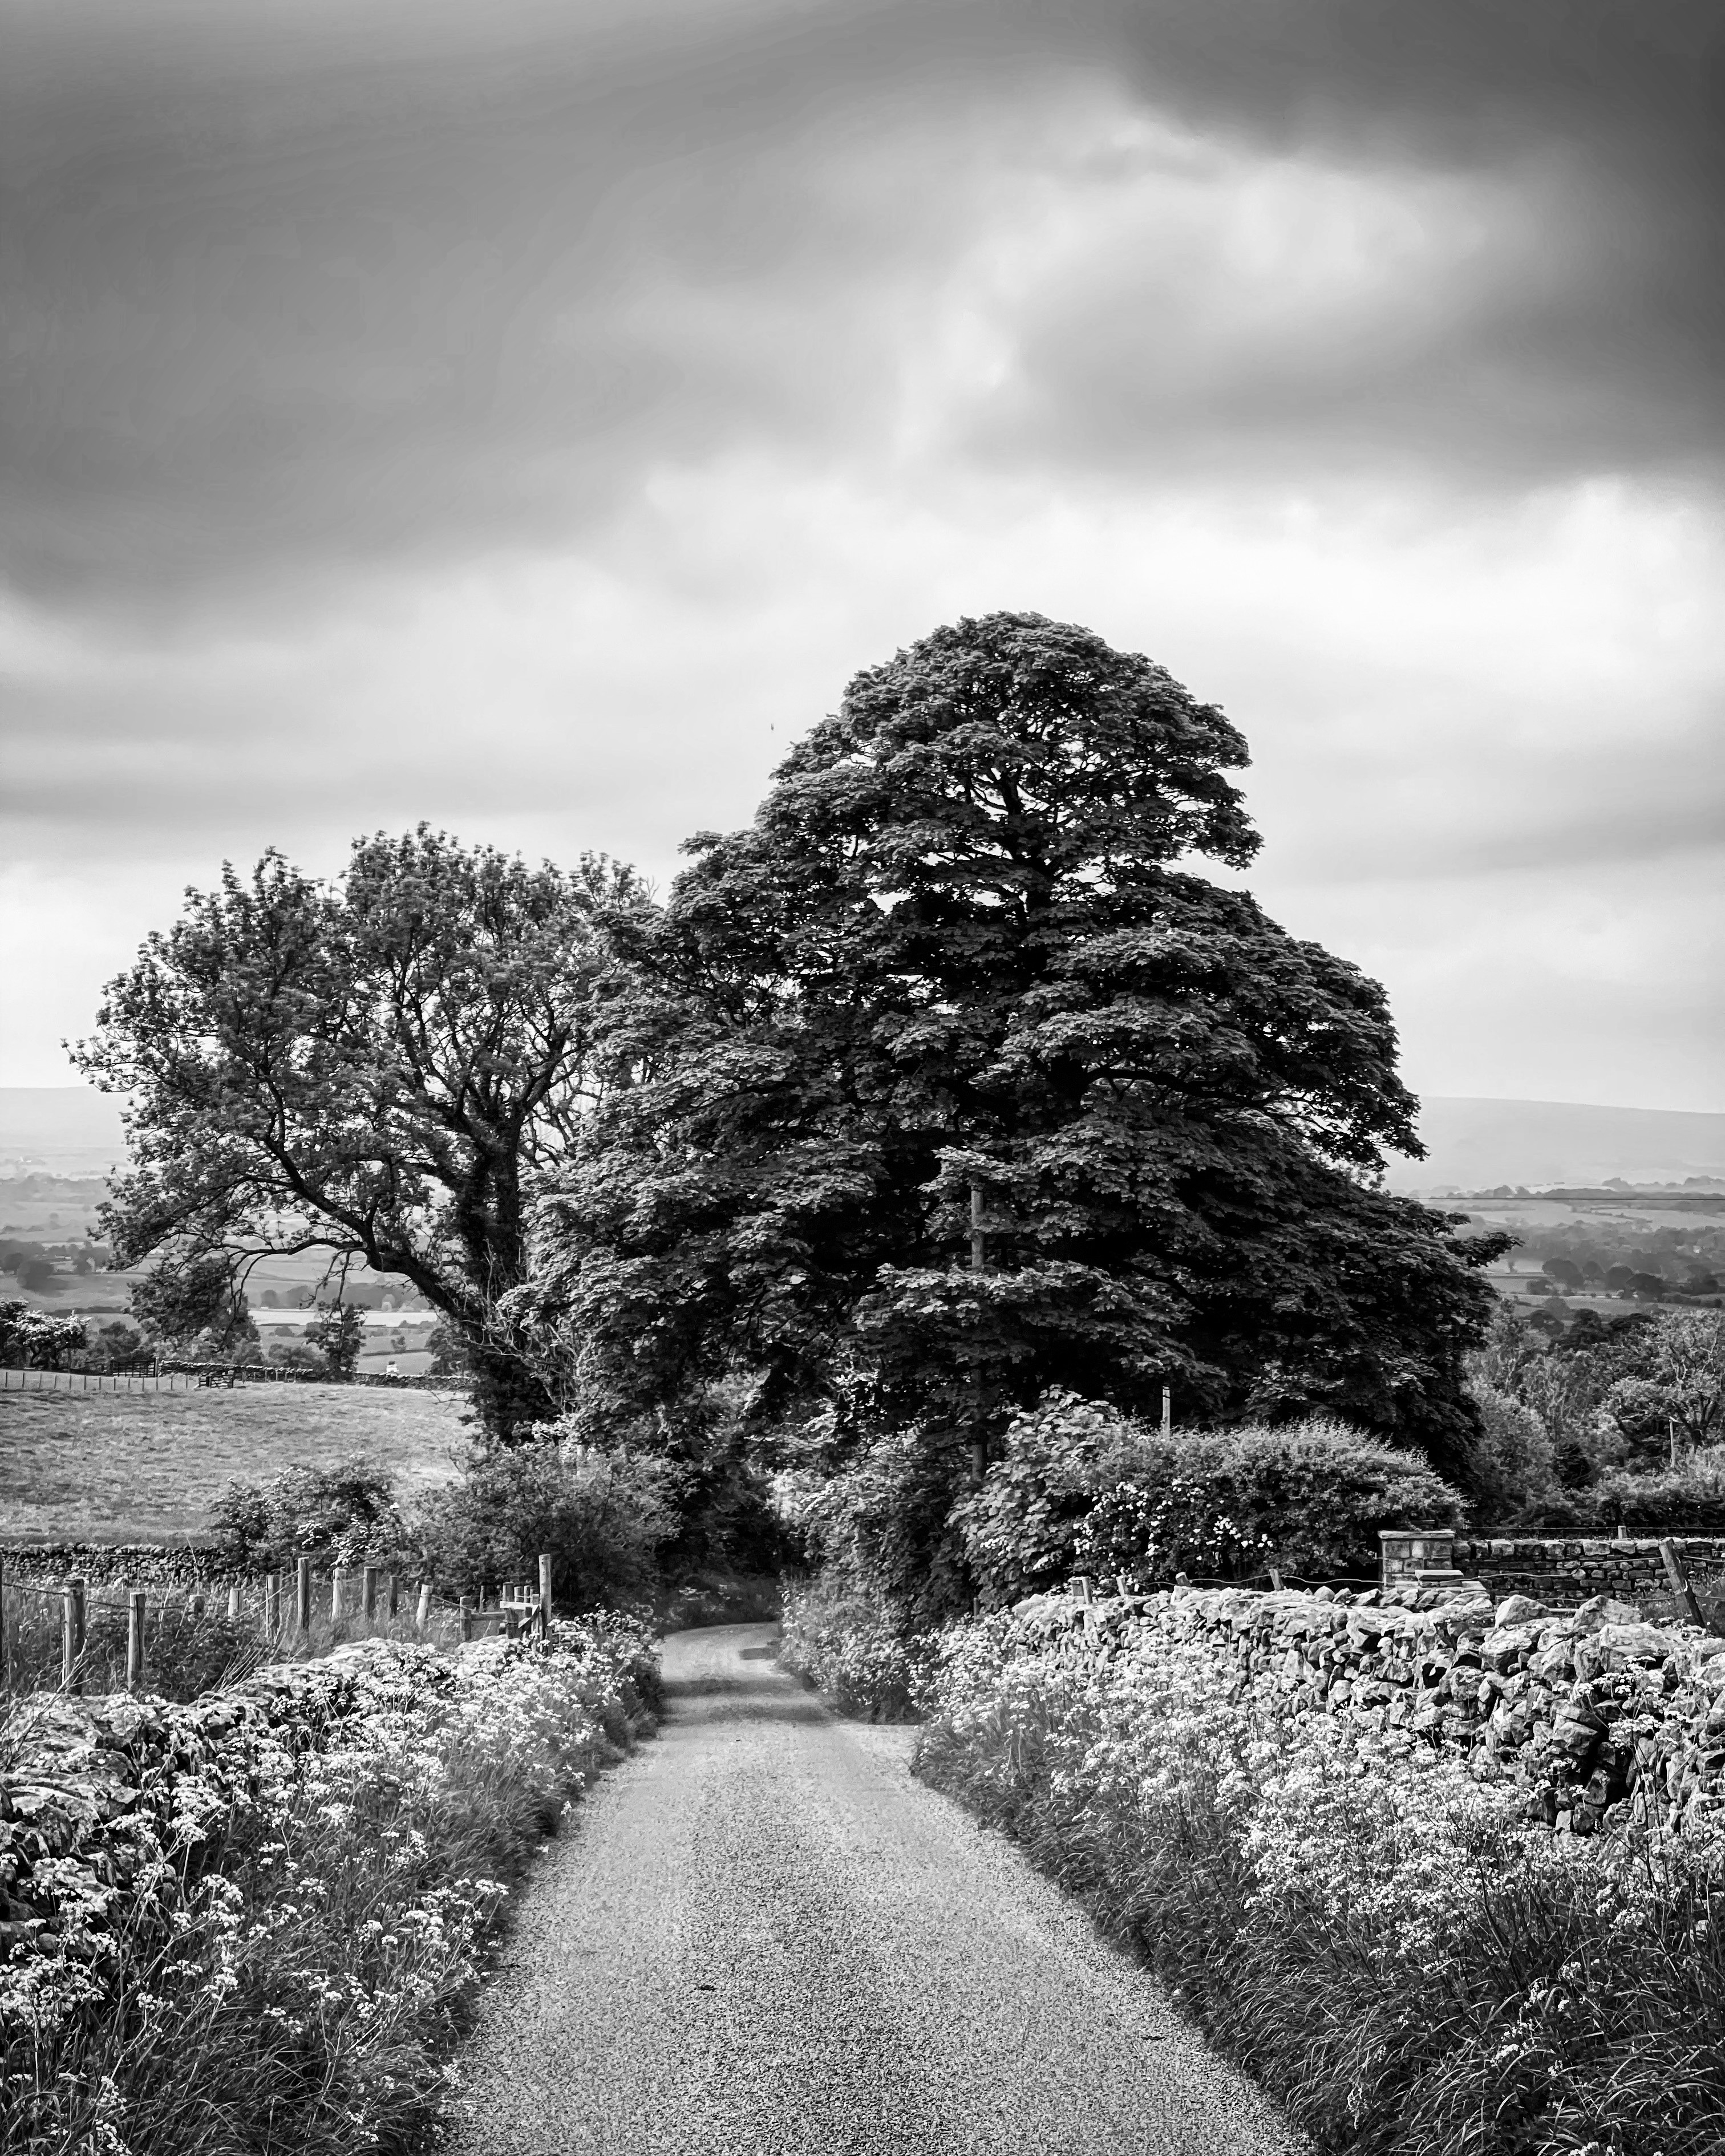
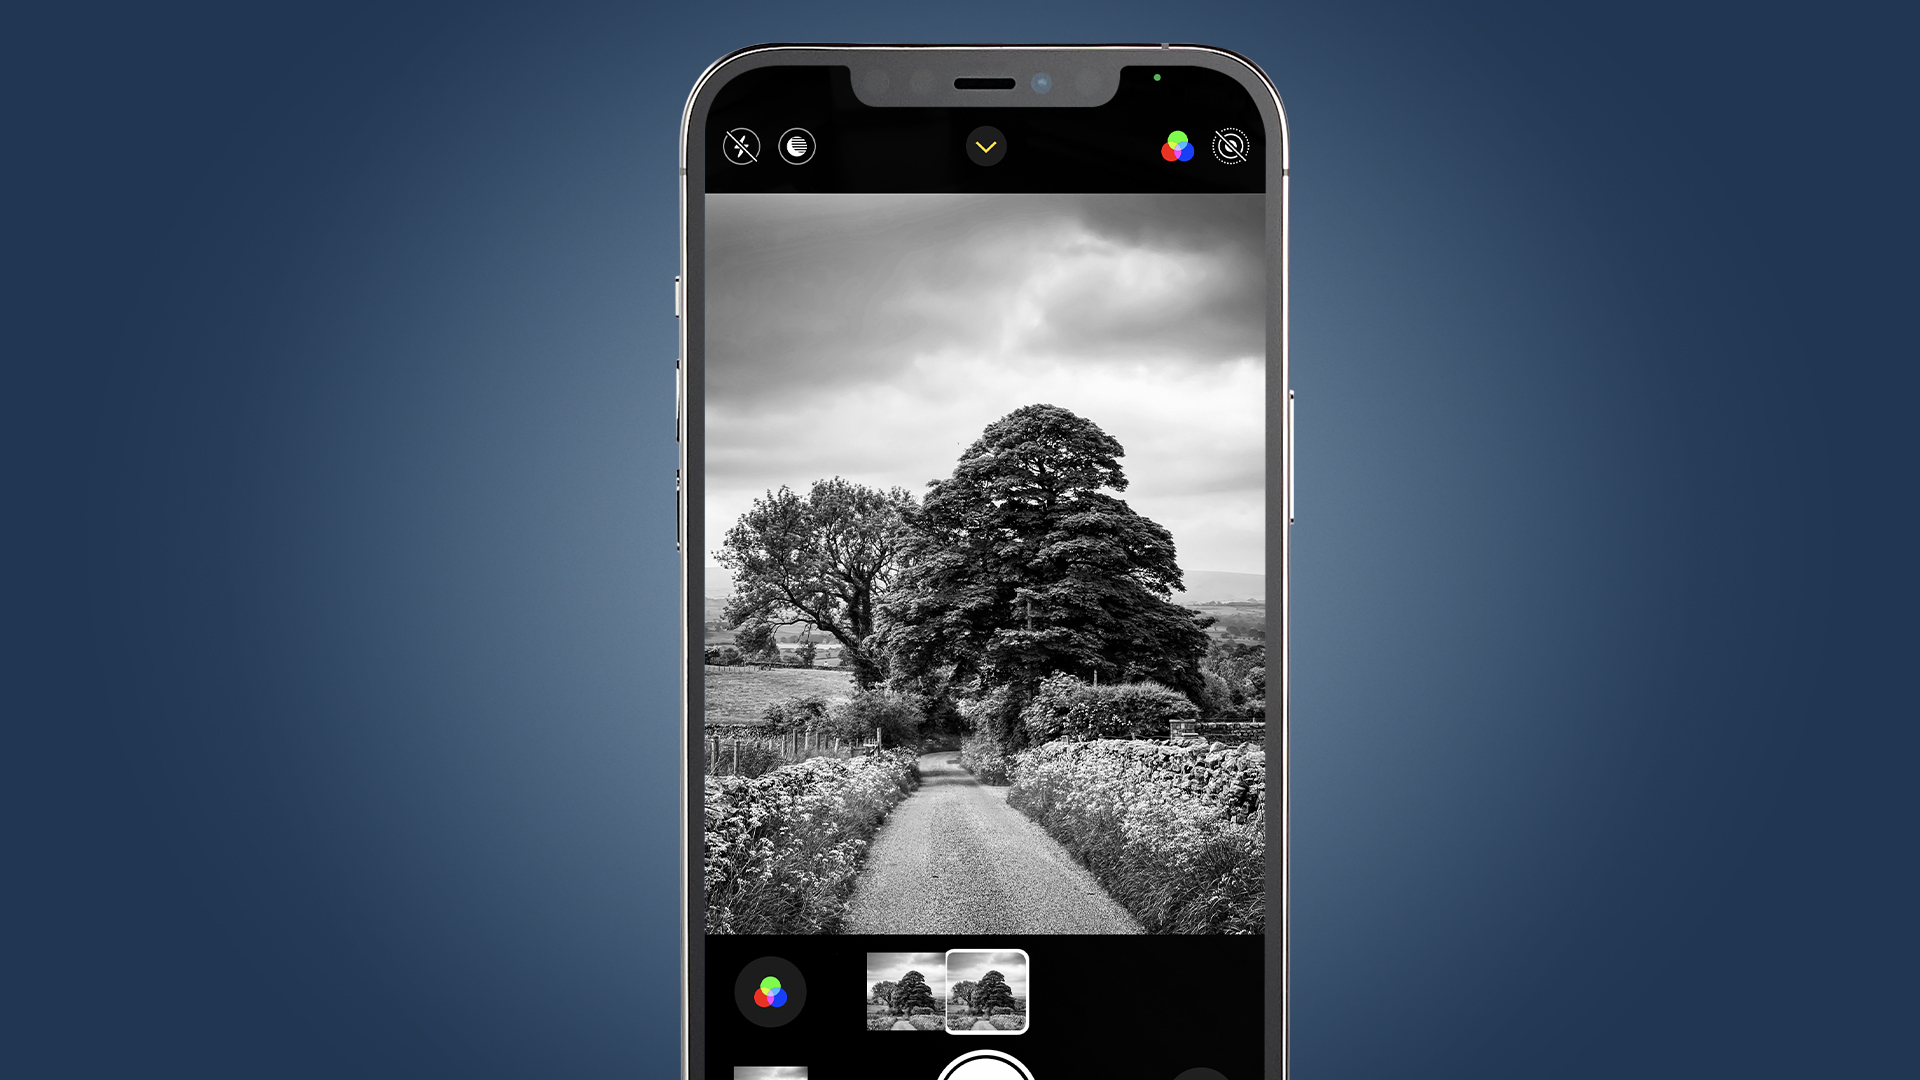
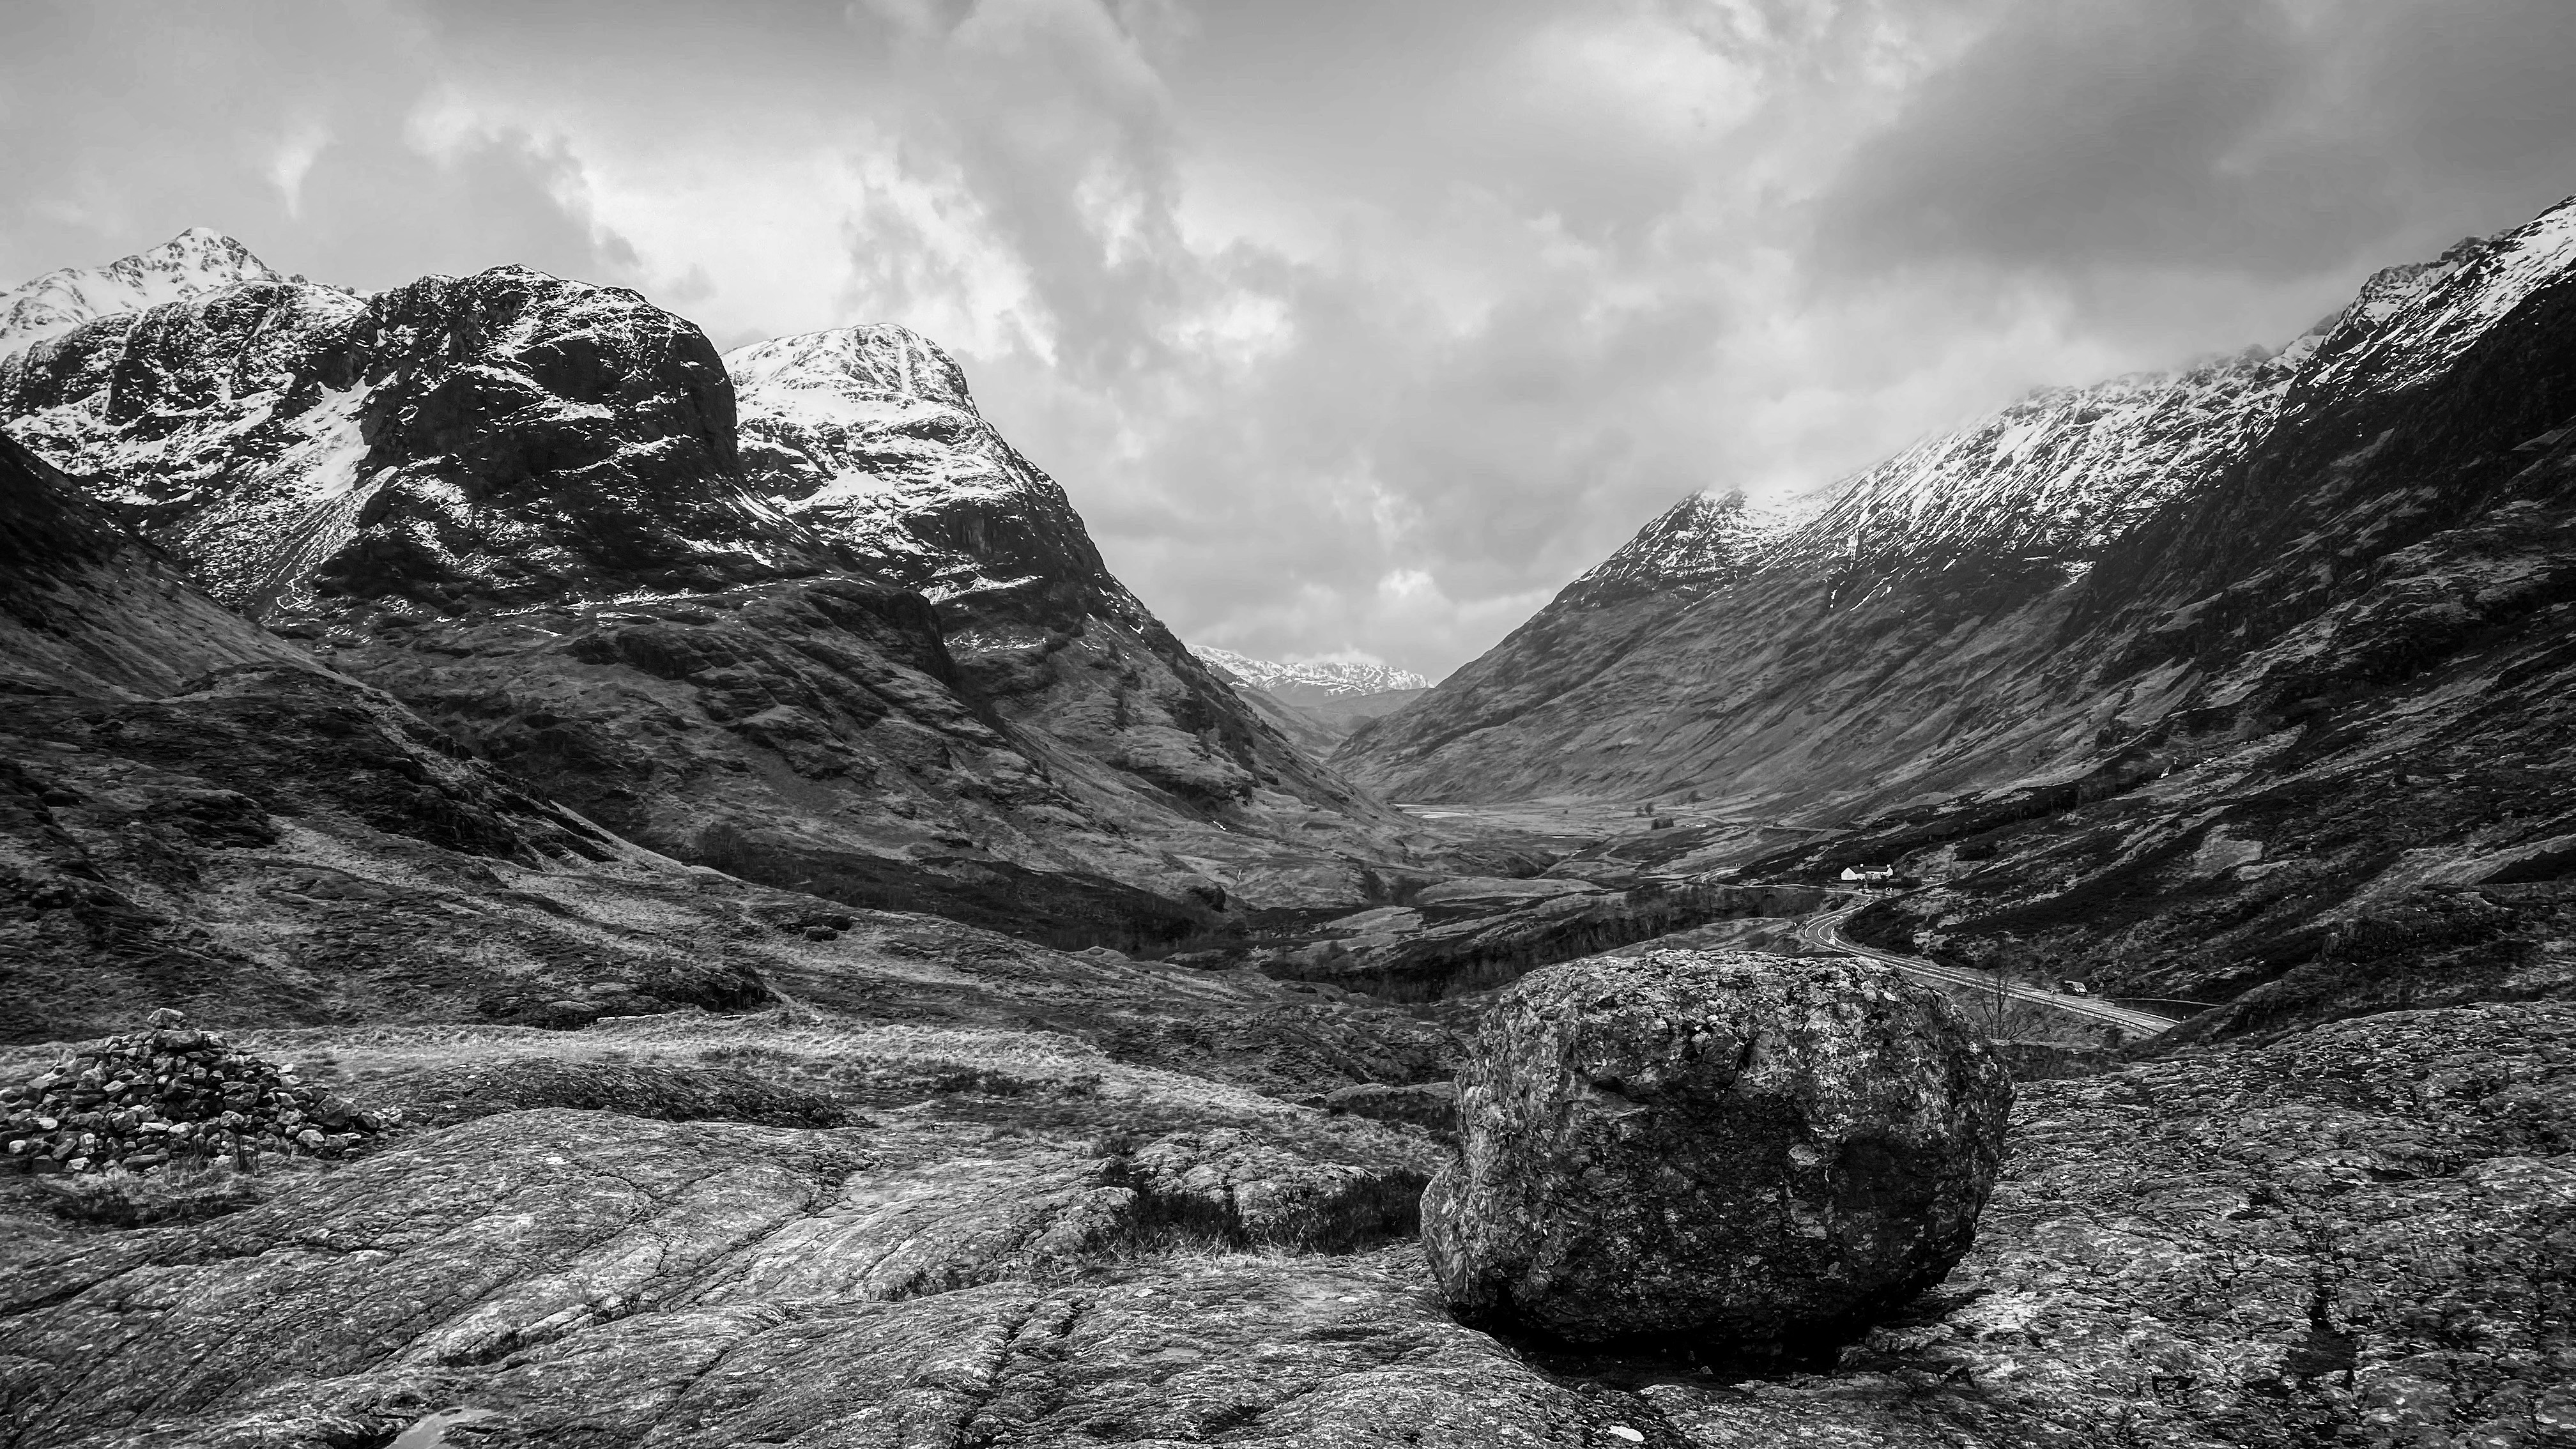
Photographer Matt Hart uses monochrome for a lot of his landscape work. “Using black and white will give your landscape images a timeless and classic feel," he says. "It’s also a great way to emphasize tones and lighting, with subtle differences between different areas of a landscape scene becoming more obvious when you remove the color."
“It’s also a great way to show off particularly dramatic skies or weather patterns, as you can see here in this moody shot," he adds. "I don’t think it would have been so impressive in color. It’s worth setting up your phone to record in black and white when you’re shooting so you know exactly what you’re going to get – and to help your mind think in monochrome and look for the best subjects. You can always change it back to color after the fact with most smartphones.”
5. Choose the right app for the job
Taking your picture is just the first step to creating a fantastic landscape photograph. There are hundreds, if not thousands, of different editing apps on the market, many of which are worth experimenting with – including the likes of Spectre for long exposure effects, like the below.
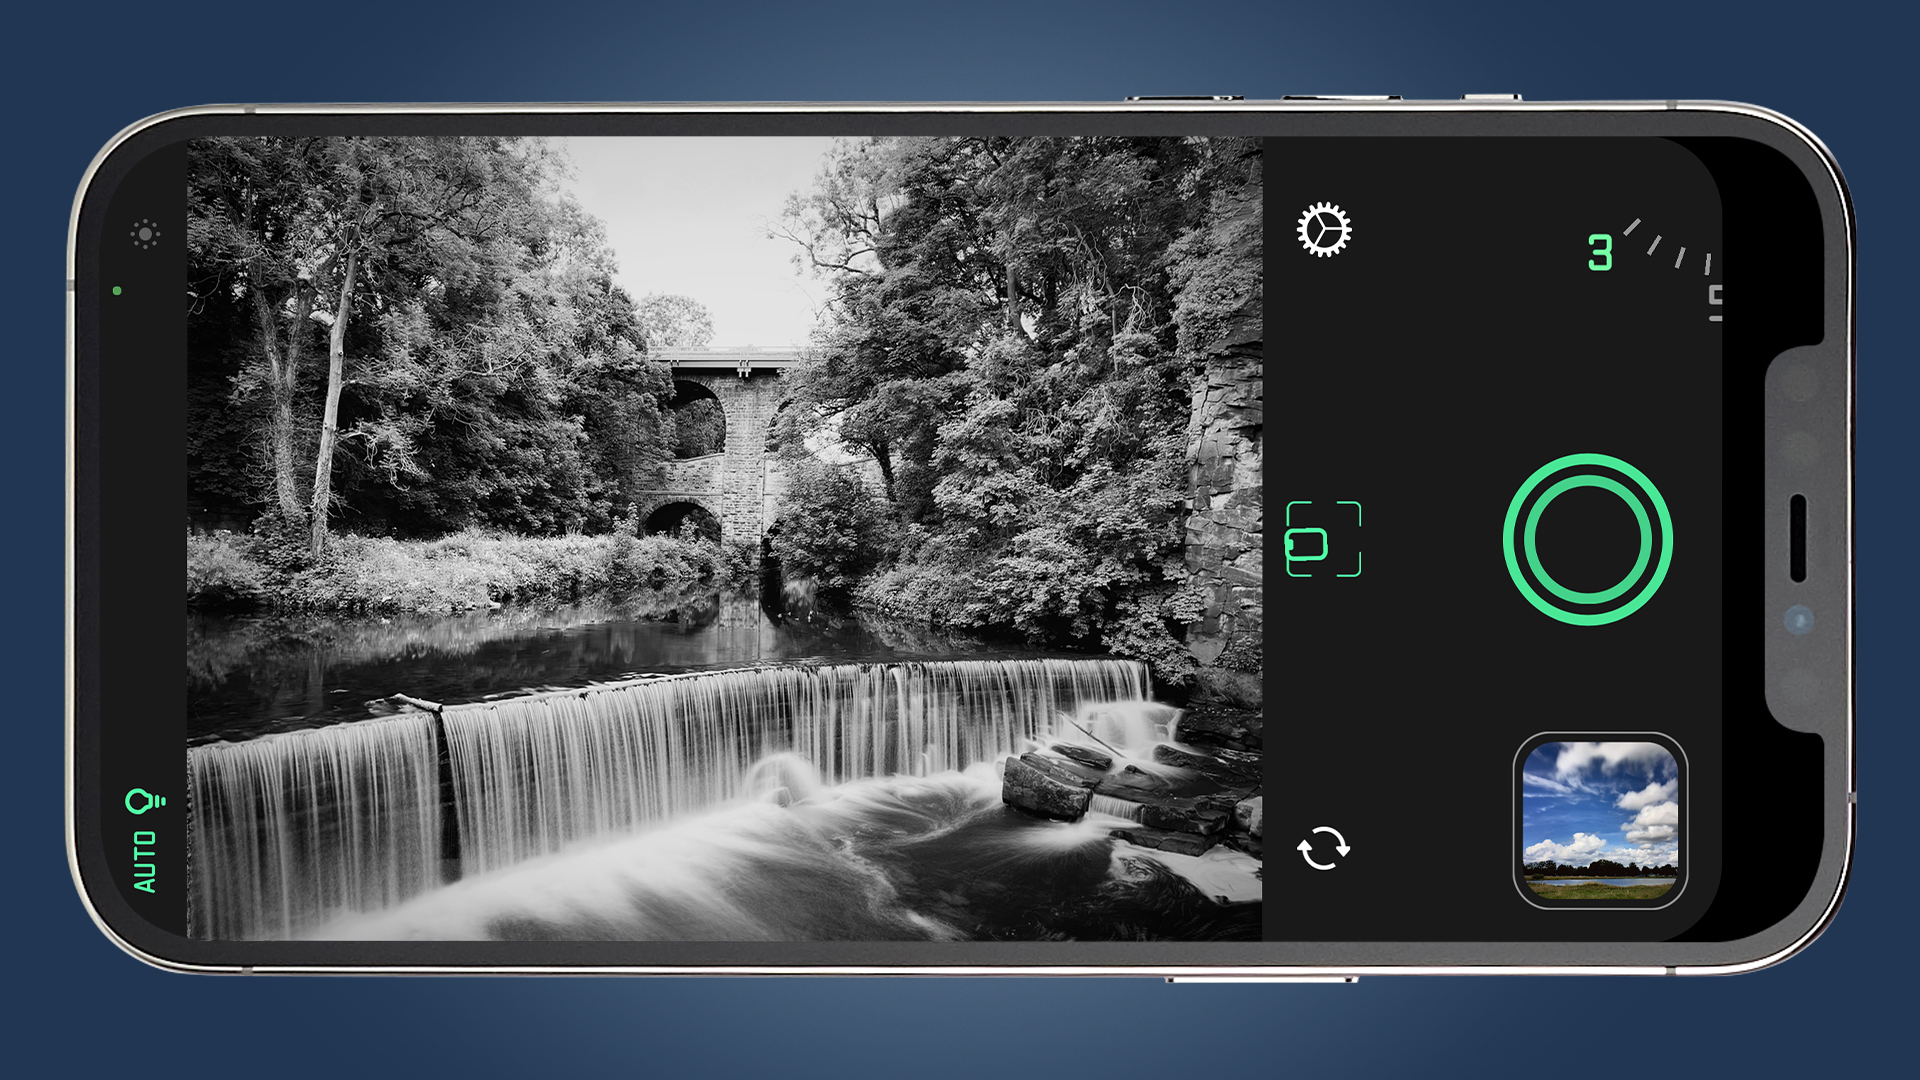
For Matt Hart, he tends to stick with the simplest or most commonly-used apps as a quick way to tweak his phone photos for best results. “I use three basic apps. The most commonly-used one is Instagram, which has a host of editing tools which are good enough for most of my images," he says.
“I will also use Snapseed to darken skies, which creates particularly dramatic effects for landscape photography. I also have Lightroom if I really want to work a lot on image, but the phones are so good now that I hardly use it. Darkroom is an app I have used a lot this year, and can highly recommend, while I often use the Spectre app which can use to create a blurred waterfall type effect, such as seen here.”
- Download Snapseed for iPhone or Android
- Download Lightroom for iPhone or Android
- Download Darkroom for iPhone
- Download Spectre Camera for iPhone
- These are the best photo editing apps you can download right now
from TechRadar - All the latest technology news https://ift.tt/3g32WtB