This time last year, Adobe's Super Resolution feature arrived to intelligently upsize our photos in Camera Raw and Photoshop. It's a useful tool for creating large prints or boosting the size of old raw files, but results can vary depending on the camera you've used to take the shot.
While 60MP is now the higher end of the megapixel scale for full-frame cameras, not all modern cameras have such a high pixel count – and the older raw files you have in your catalogue will inevitably have lower resolutions. So which images does Super Resolution produce the best results with?
We tested shots from three different cameras – a Canon EOS 5D, Fujifilm X100V and Sony A7R III – to find out, and the results are below. If you're new to Super Resolution, you can find it in Adobe Camera Raw 13.2, Photoshop and Lightroom, but we've also included a step-by-step guide to using it with your photos below.
Super Resolution simply provides a a way of doubling the resolution of images; the height and width of a raw file, JPEG or TIFF are doubled to provide four times the original resolution, while a new DNG file is created for you to edit and export for your desired output. Here's how it works with different cameras, and how to use it on your photos, too.
The tests
- Canon EOS 5D (MKI) – 12.8MP sensor


Canon EOS 5D Raw files produced an excellent result which appears ever so slightly less sharp than the original image file with the same amount of sharpening applied.
Increasing the level of sharpening of the enlarged DNG from the default amount of 40 to 65 produces a practically identical result.
- Fujifilm X100V – 26.1MP sensor
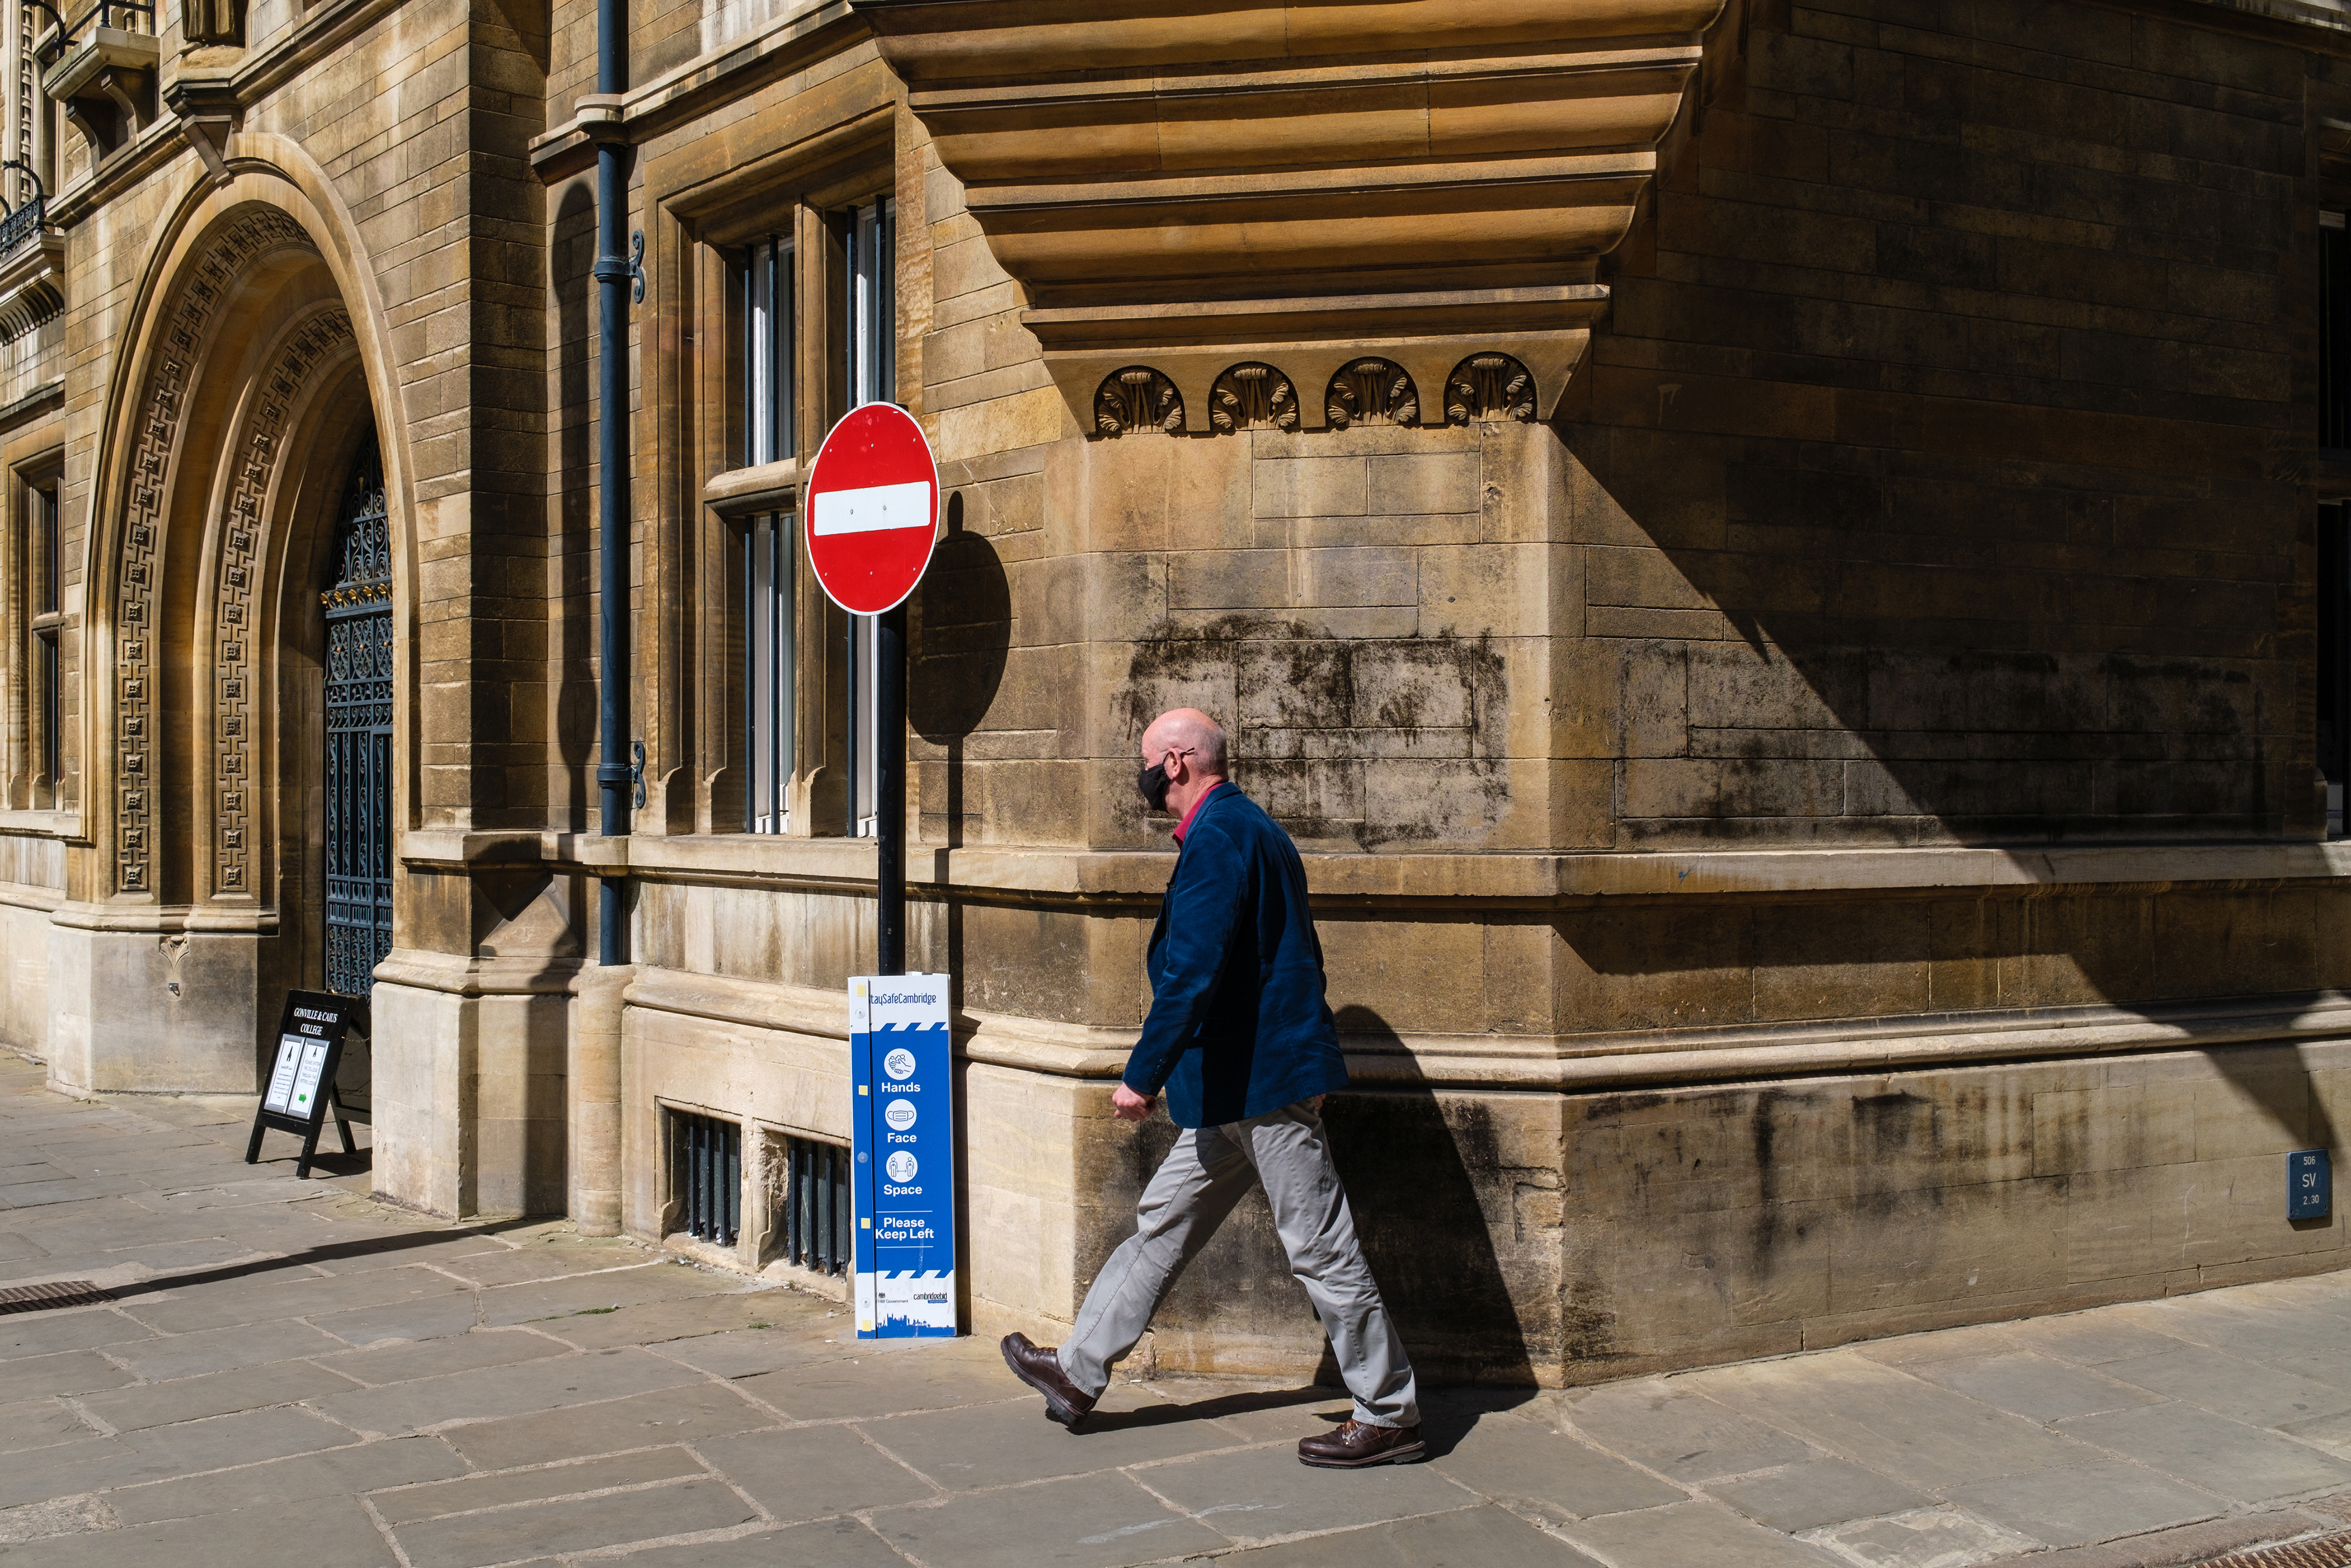
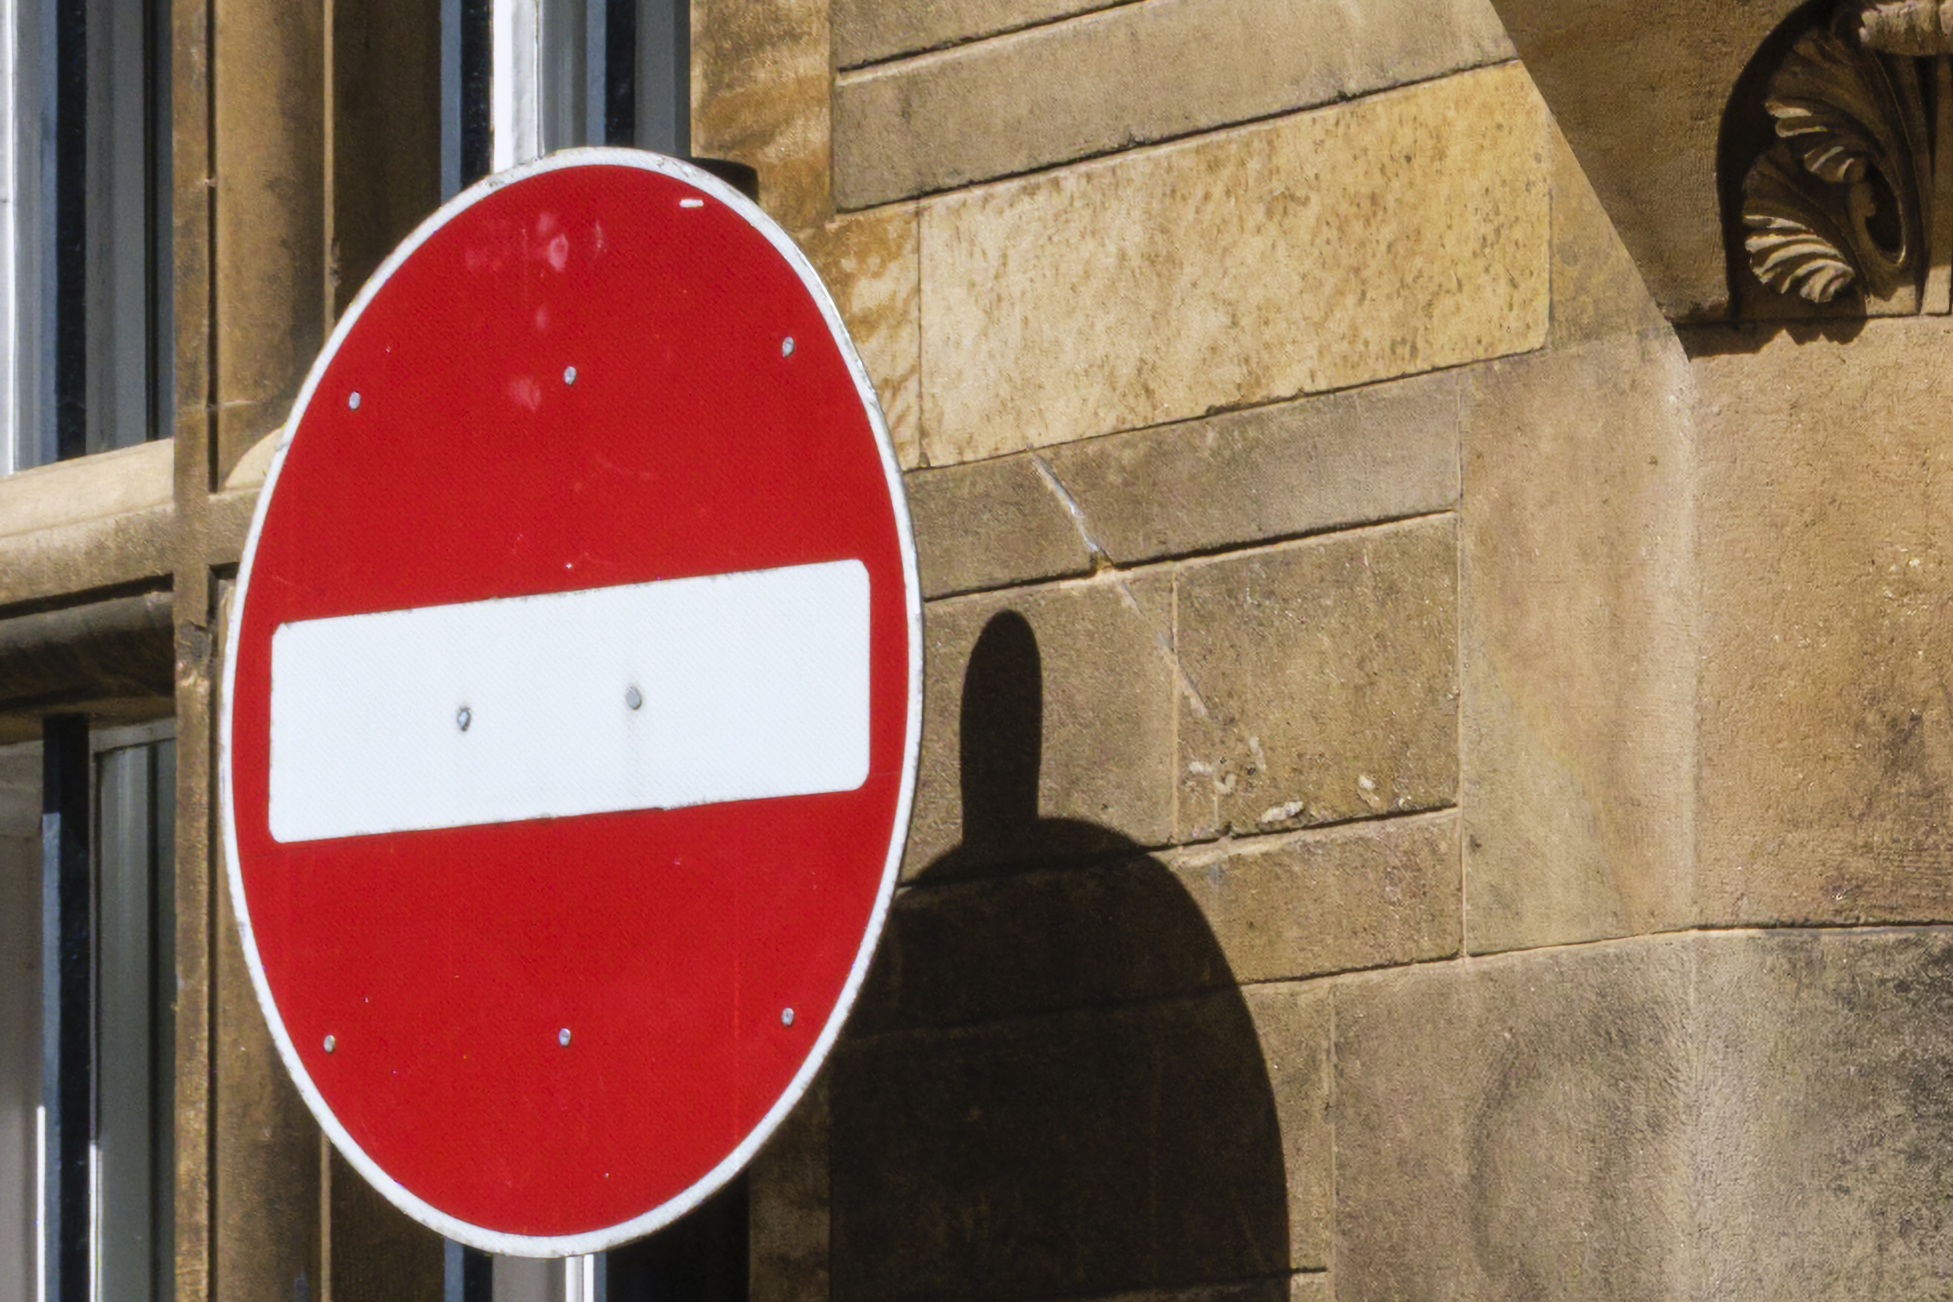
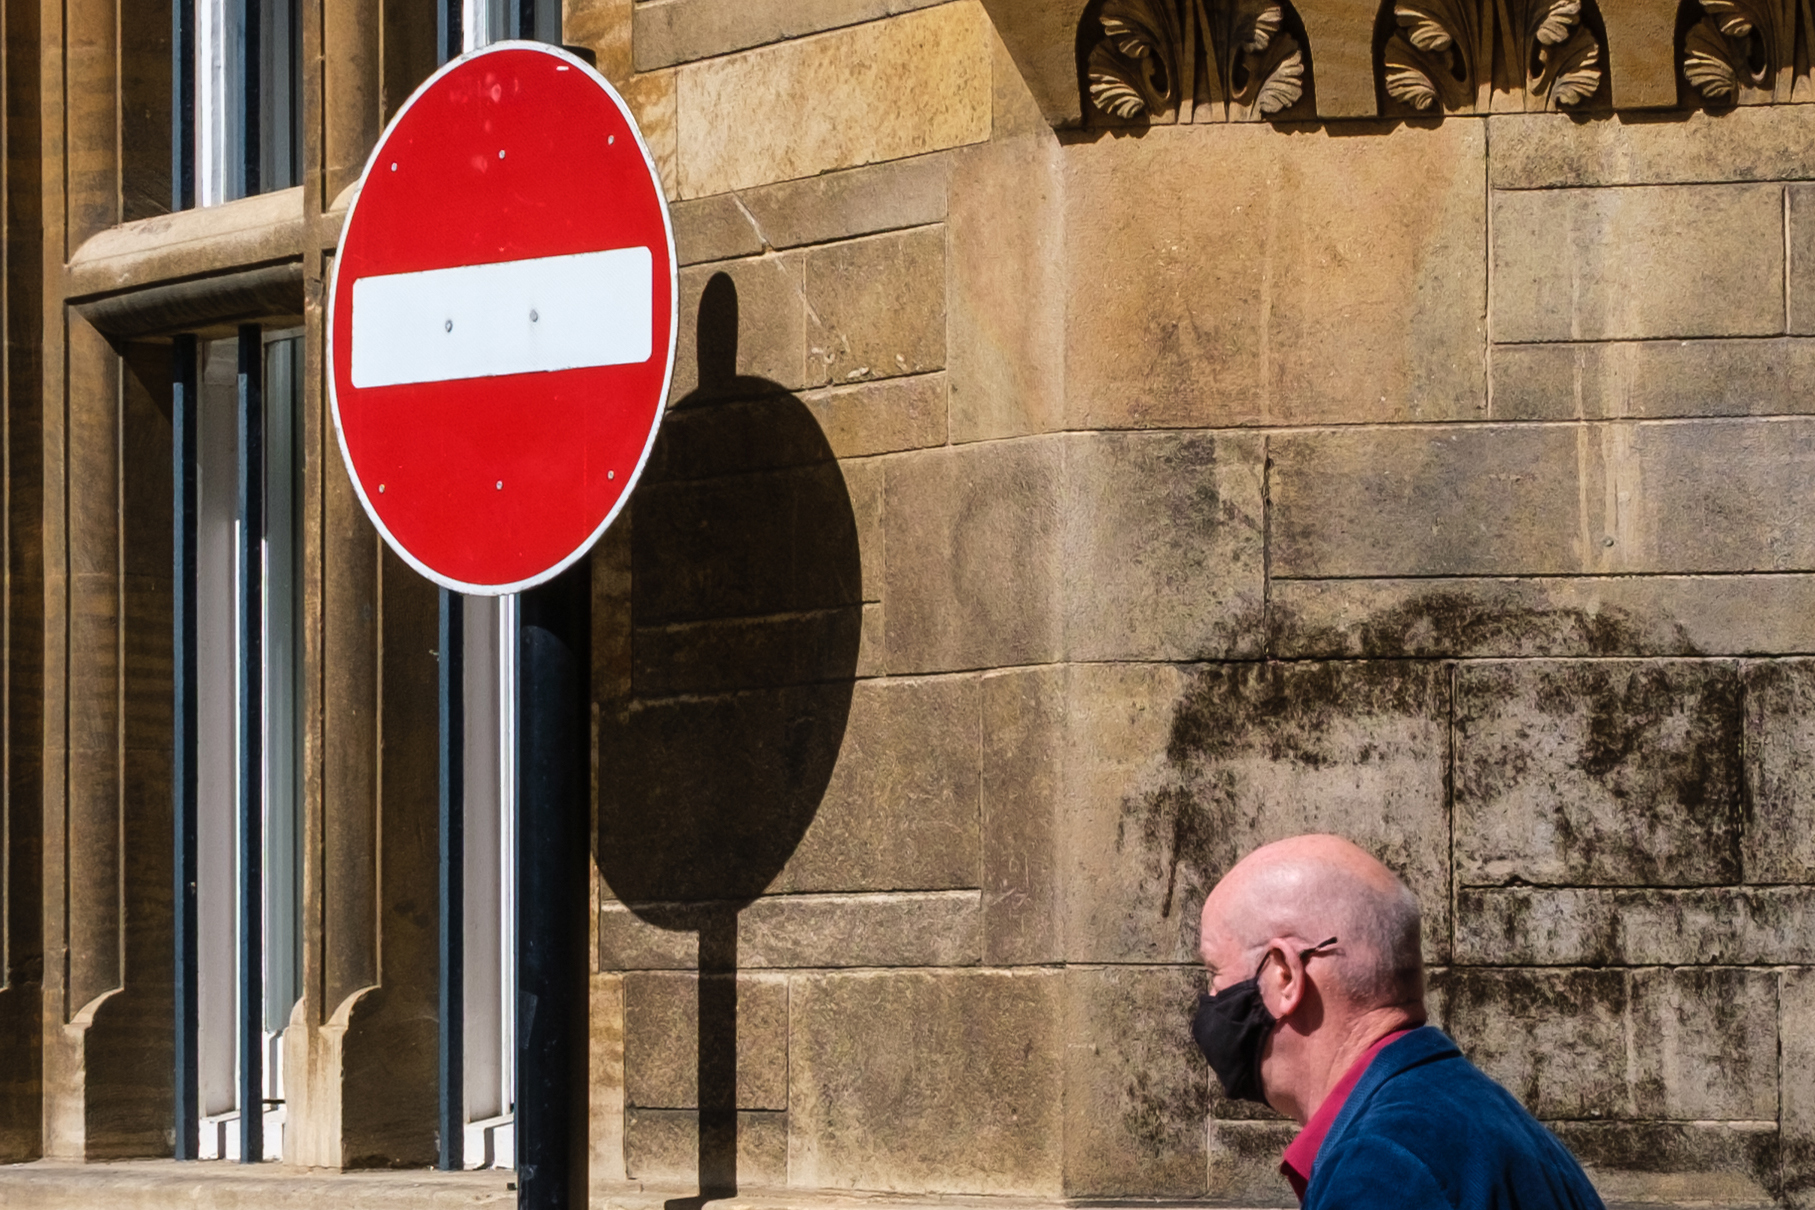
Raw files from the Fujifilm X100V performed in an almost identical way to those from the low-resolution Canon EOS 5D.
The enlarged DNG was slightly softer than the original and increasing the amount of sharpening to 65 brought the sharpness of the new file up to the same level of overall sharpness.
- Sony A7R III – 42.4MP sensor
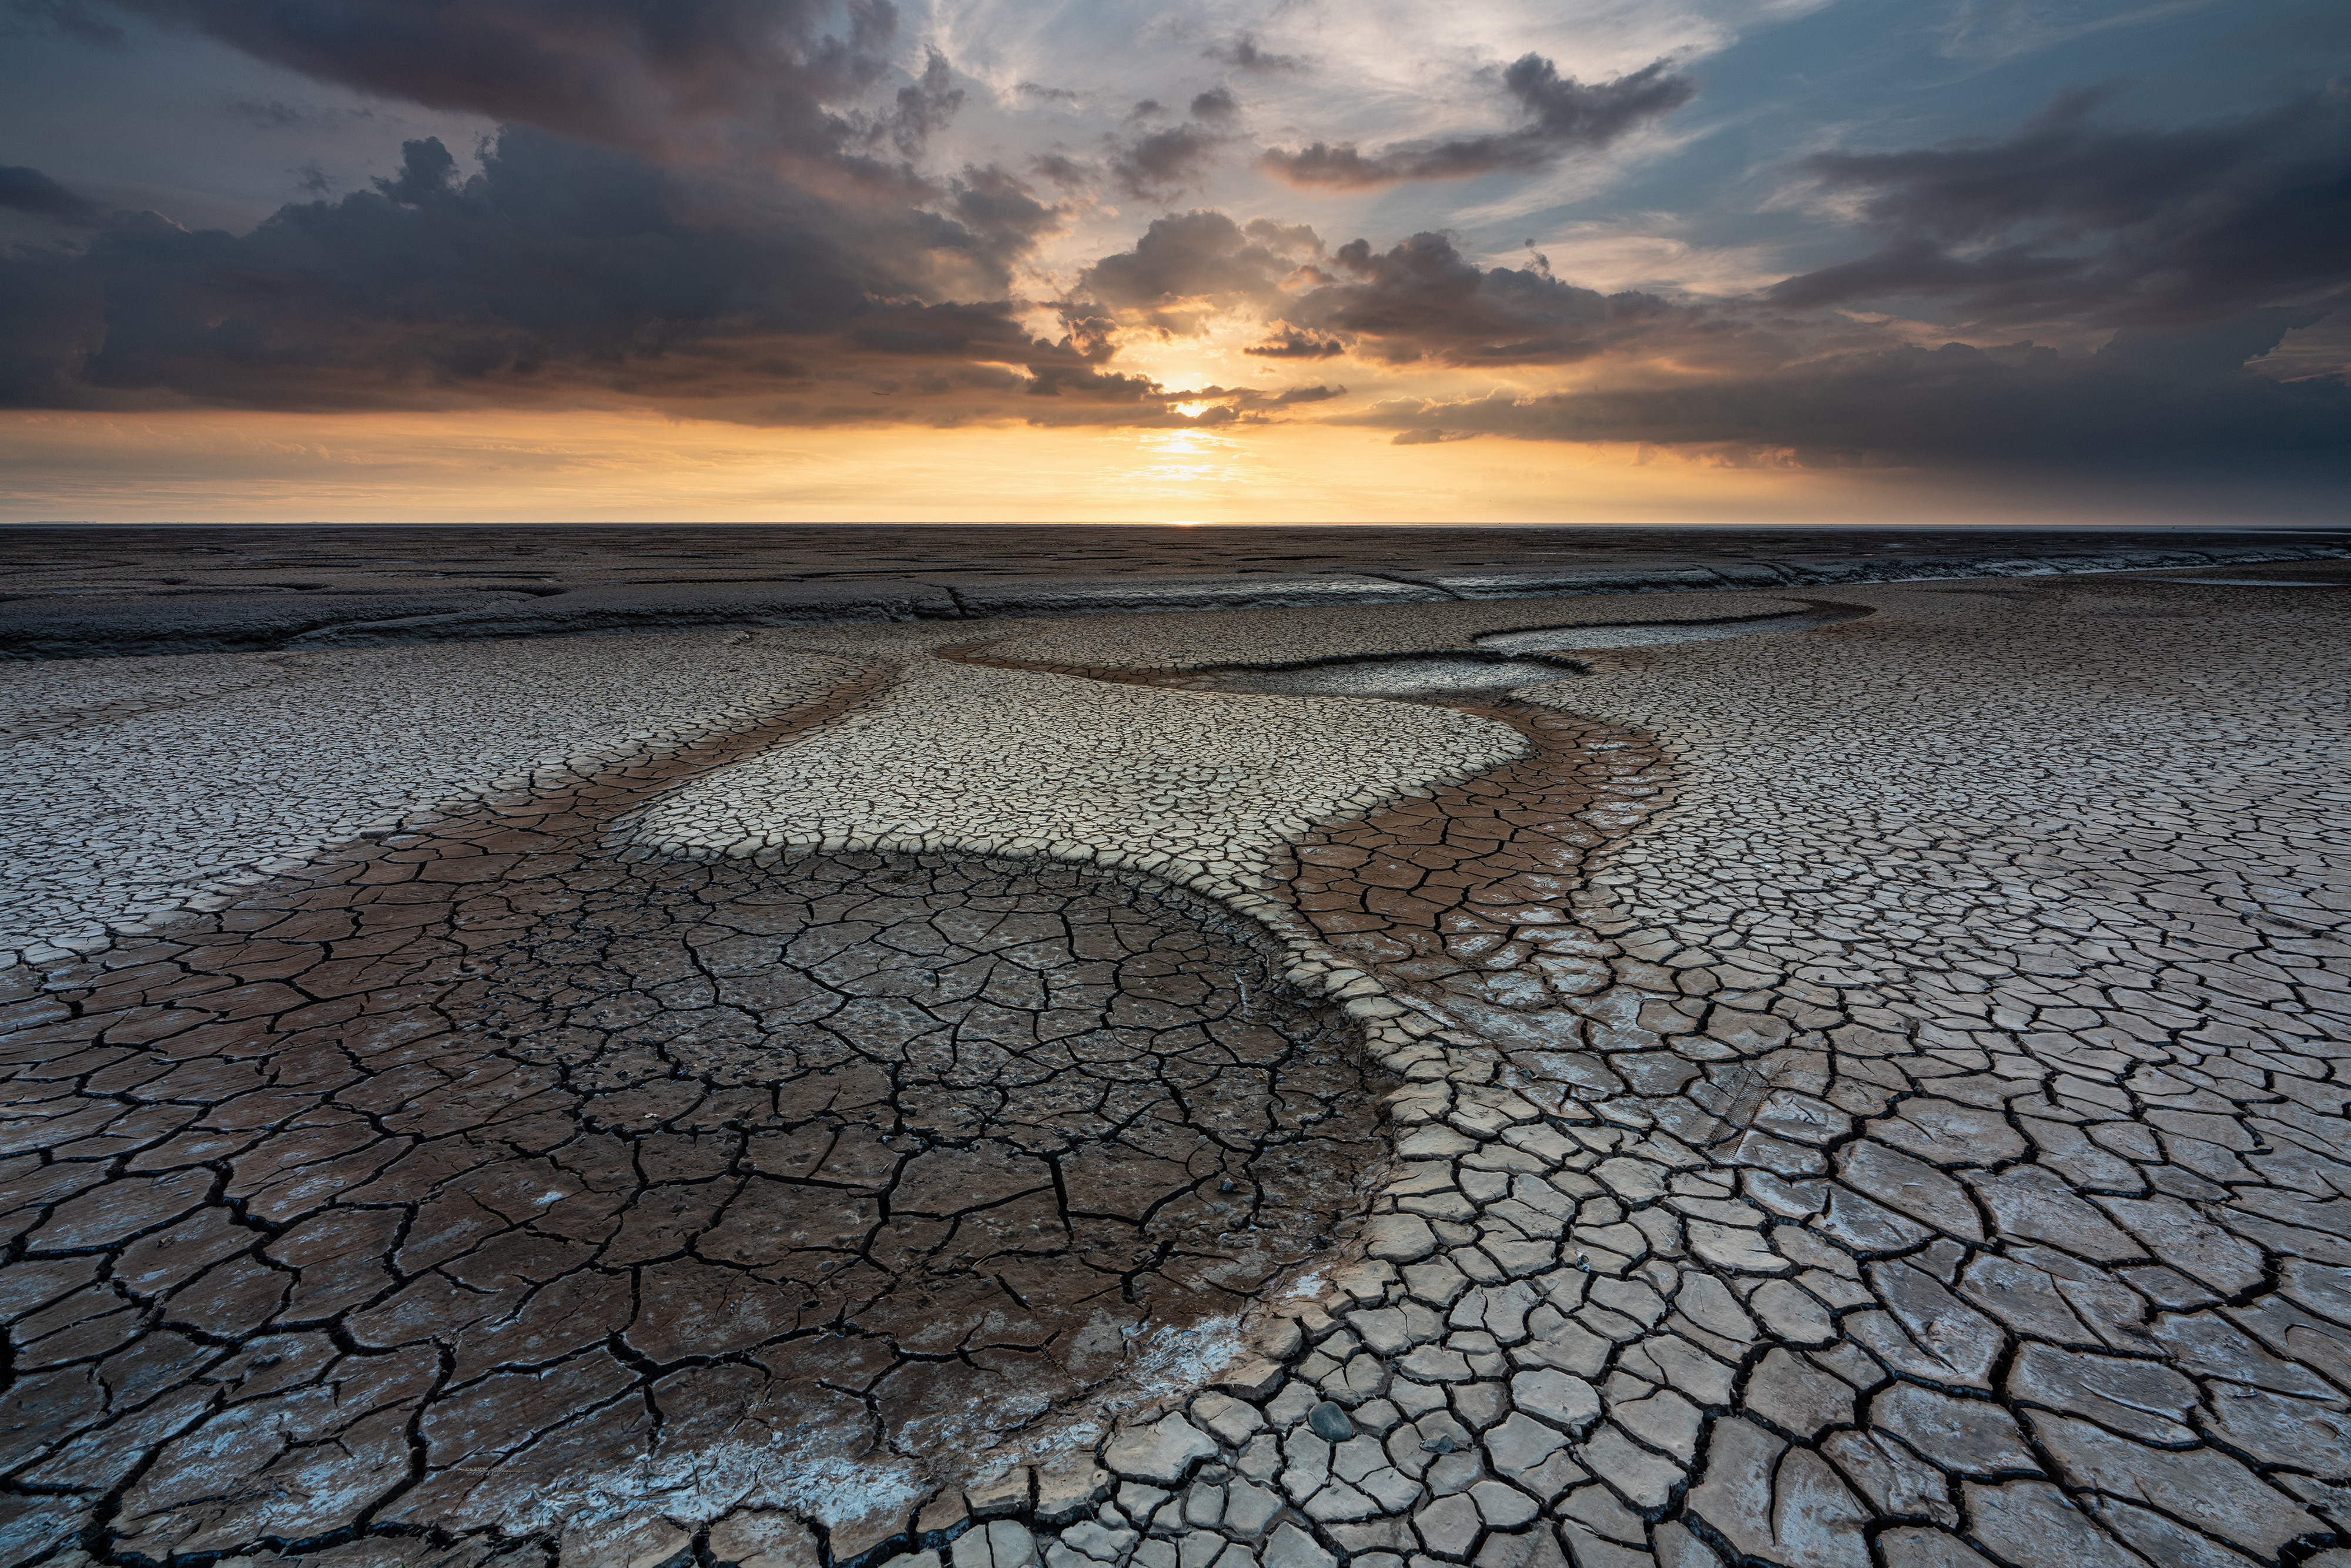

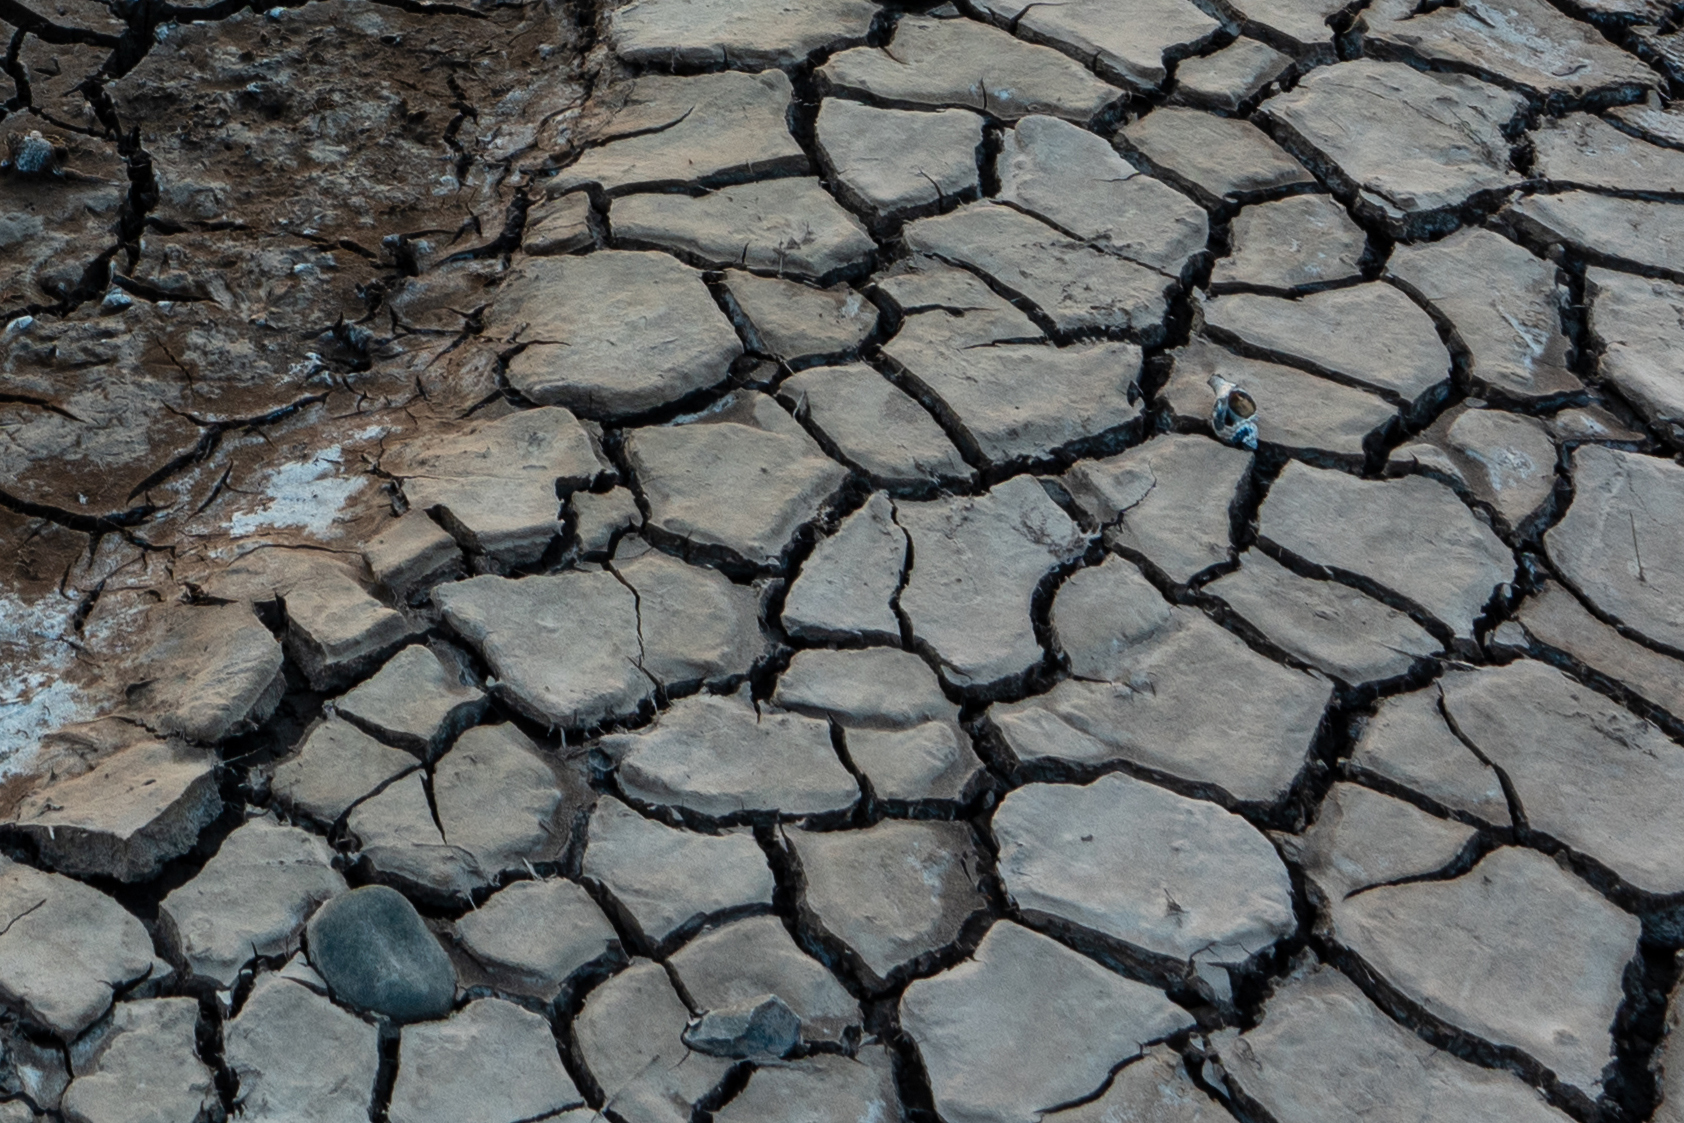
The Sony A7R III produced the least impressive result with a slightly over-sharpened look to details when set to the default amount of sharpening.
There were also small but noticeable artifacts creeping in along sharp edges when viewed at 100%. Zooming out to 66.7% resulted in this apparent over-sharpening becoming less obvious, and reducing sharpening to 20 does help, but the artifacts remain.
The verdict
It appears that Super Resolution is more effective with raw files that are below 30MP, with the raw files created by higher resolution cameras such as the Sony A7R III appearing over-sharpened.
Still, the results from higher-resolution cameras remain perfectly usable, and in print, which is the only reason you would need to enlarge any image, this apparent over-sharpening wouldn’t be visible.
Overall, Super Resolution in both Adobe Camera Raw and Lightroom provides a great way to interpolate images to be able to make larger prints. It’s a fantastic feature, because it’s easy to use and means that if you’re using a camera with a medium resolution of around 24MP, or enlarging raw files from older cameras, you can do so knowing that results will be generally excellent.
The results from enlarging JPEGs and TIFFs aren’t quite as good as using raw files, but this comes as little surprise. If you only shoot in JPEG, you can certainly still use Super Resolution and will need to increase sharpening in the resulting DNG, but the details lack the overall clarity you can maintain with raw files.
How to use Super Resolution
Below we'll cover the application of Super Resolution in Adobe Camera Raw (ACR), but will mention any differences in the process using Lightroom. When enlarging JPEGs and TIFFs in Lightroom, the process is the same as for raw files, but for ACR it’s slightly different.
To open JPEGs or TIFFs into ACR, go to Edit>Preferences>Camera Raw and in the File Handling tab, then set JPEG or TIFF to Automatically open all supported JPEGs or TIFFs. Just remember to change the settings back so that these files open normally in Photoshop once finished.
1. Open your image and edit
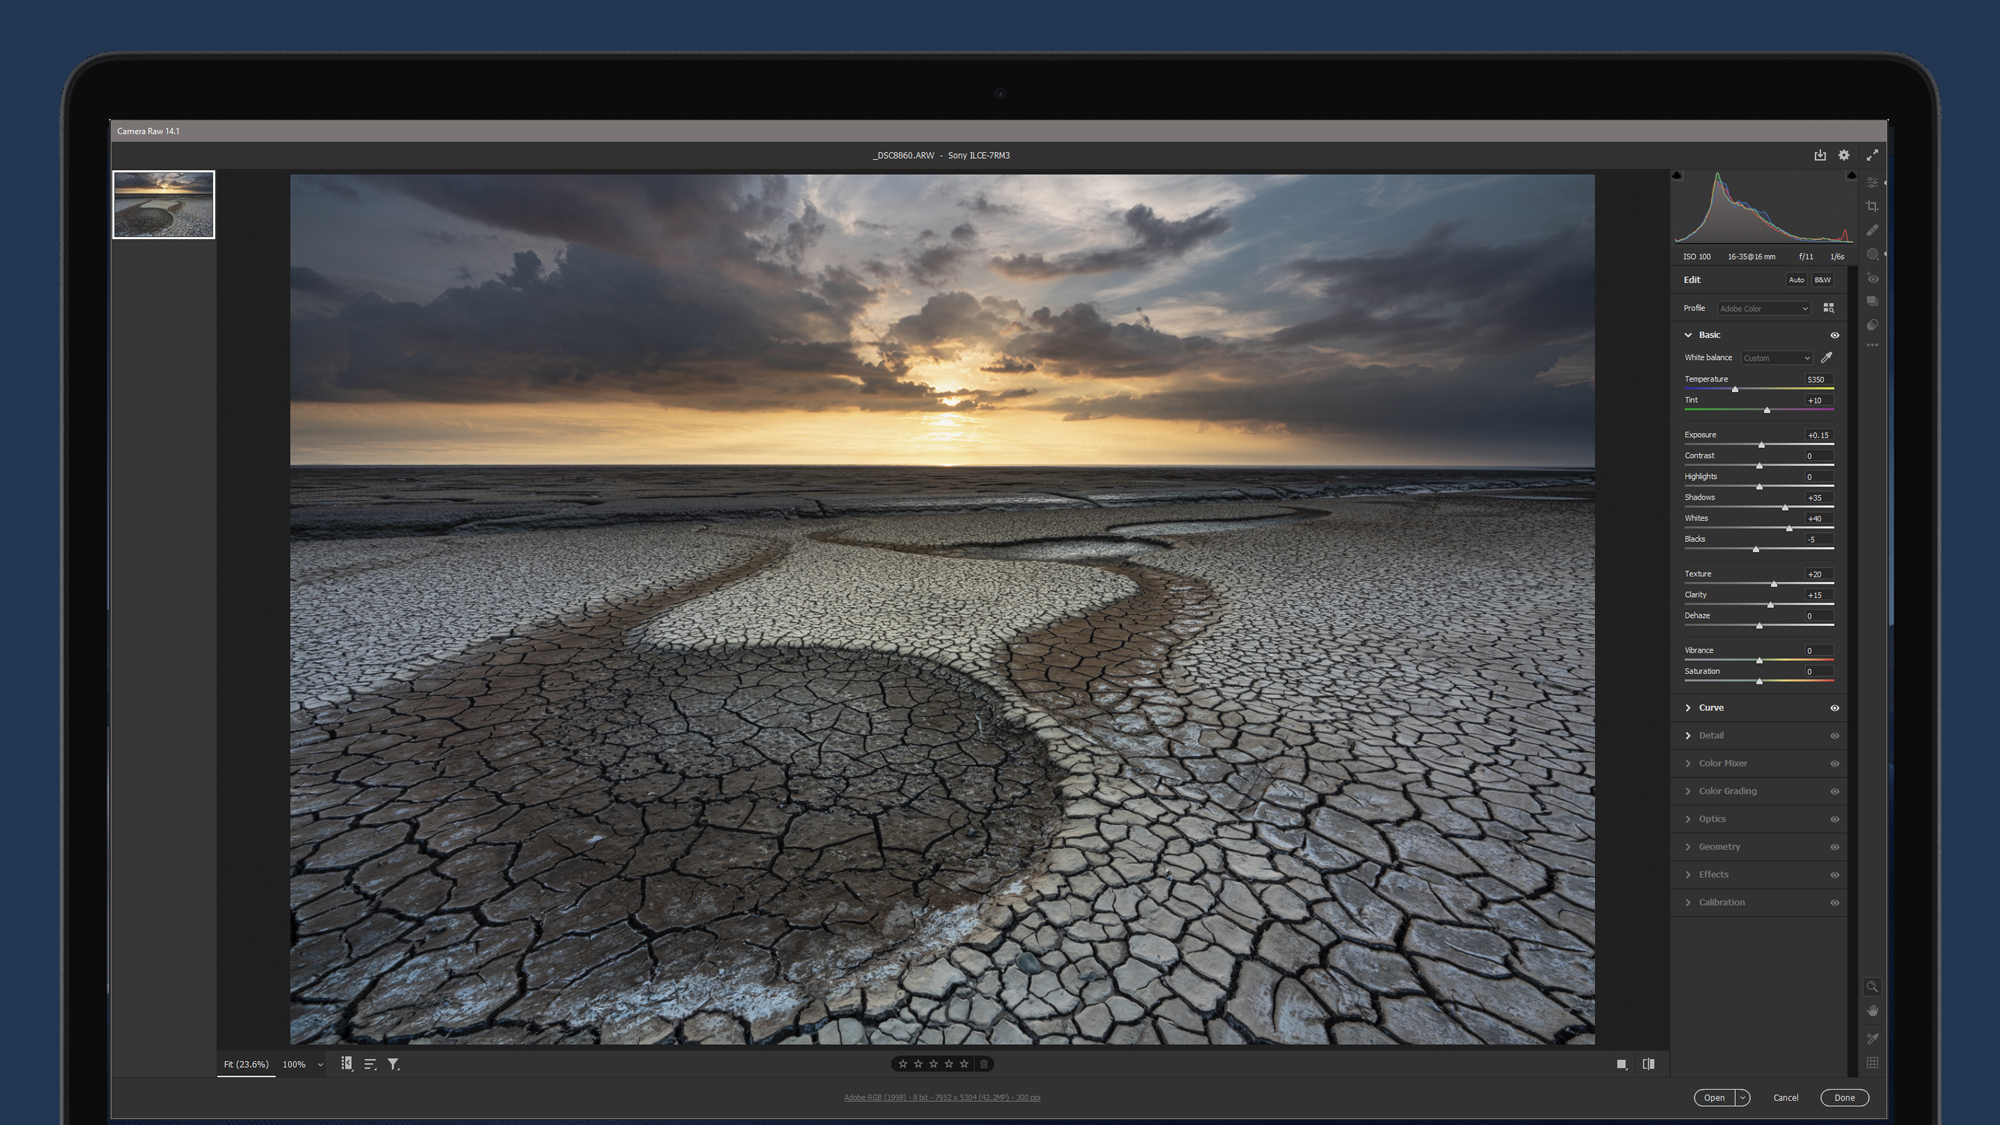
To use Super Resolution in Adobe Camera Raw, open the image using Bridge or by selecting File>Open in Photoshop and selecting the desired raw file which will open in the Camera Raw dialogue window by default.
If you’ve set your computer to open Raw files in Photoshop when double-clicked, this will work too. For Lightroom, simply left mouse click on the desired thumbnail in the Develop module. Edit the image as desired as these settings will be loaded into the DNG.
2. Apply Super Resolution
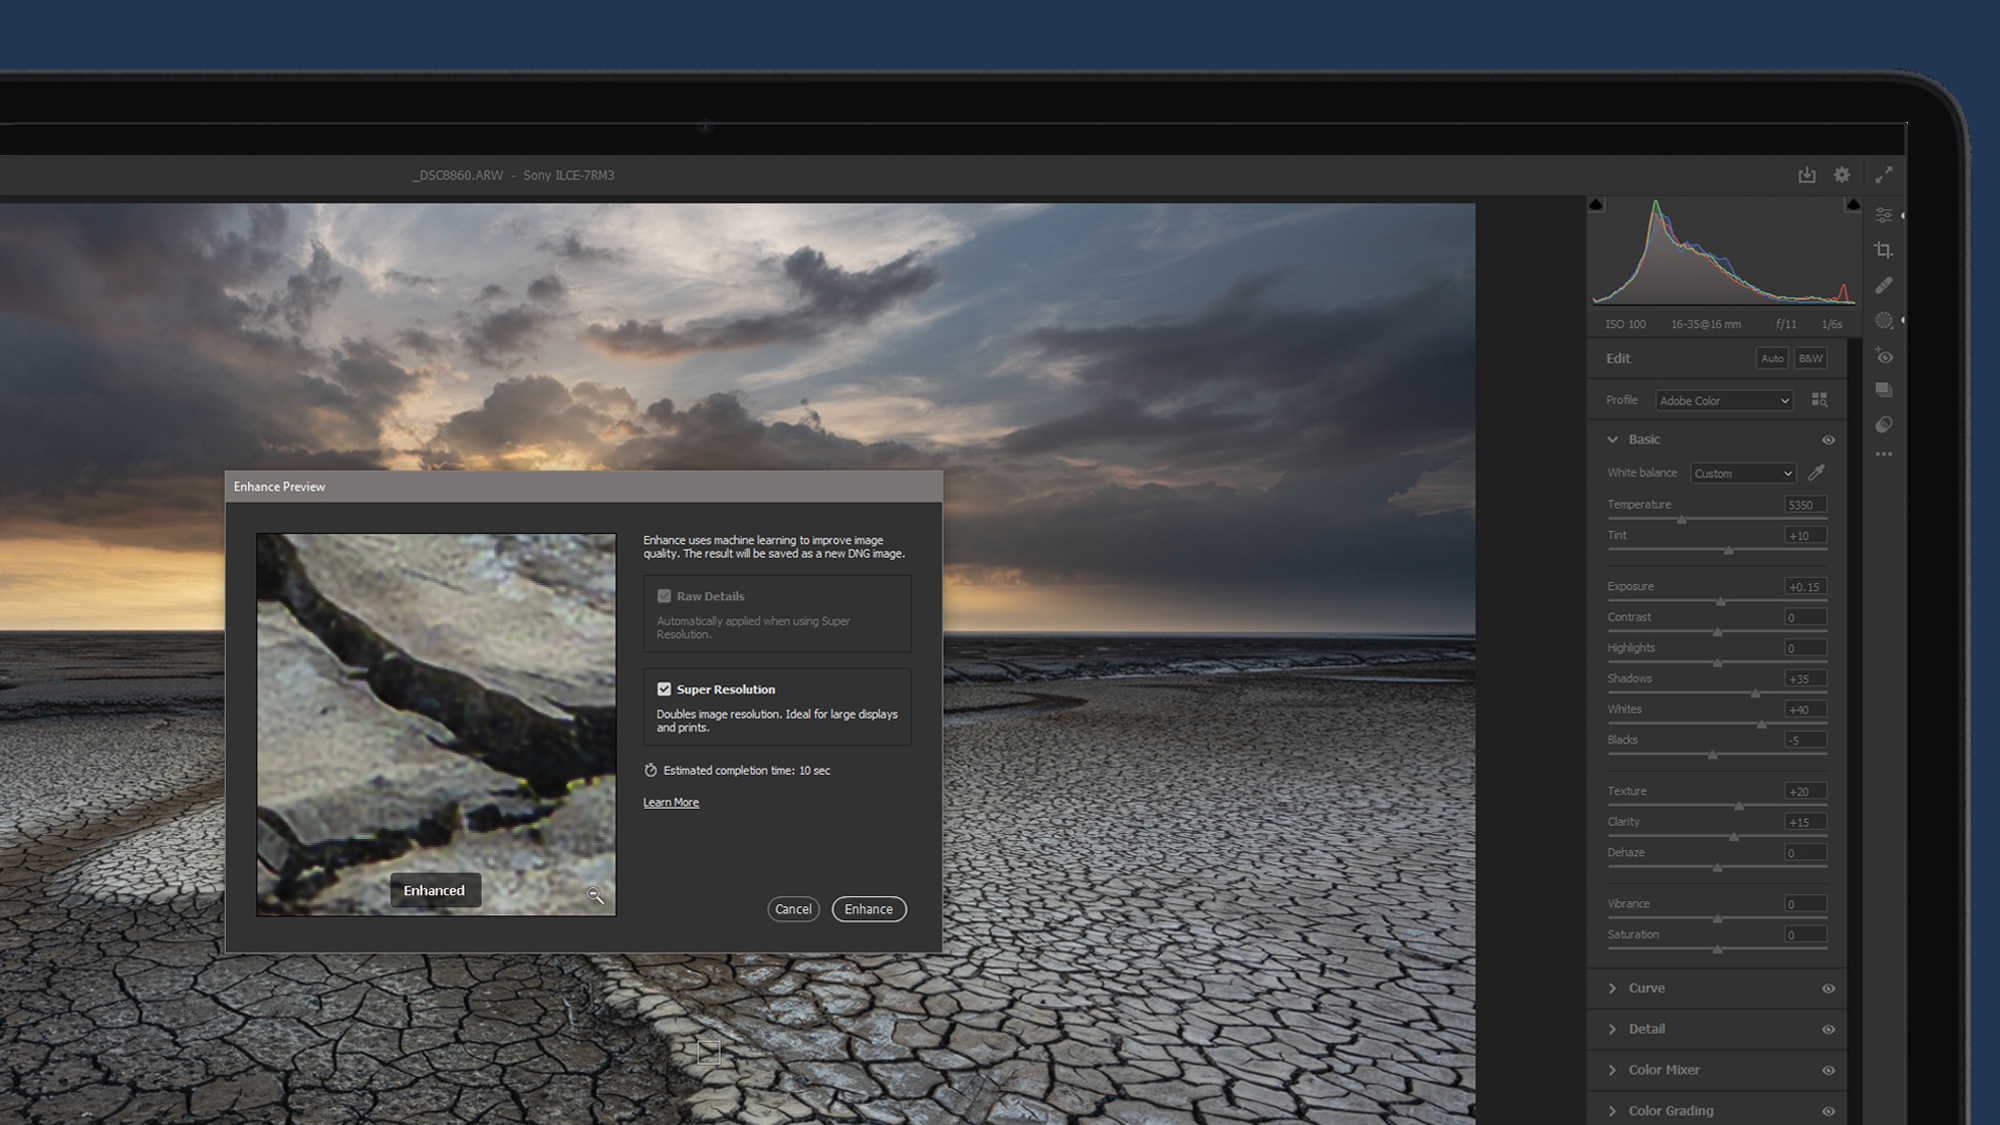
Once an image is edited in ACR or Lightroom, right mouse click on the main image window and select Enhance. When the dialogue box opens, click on the Super Resolution check box and then click on the Enhance button.
In Lightroom, you can choose to stack the new DNG with the original or leave the box unchecked so it appears as a separate image. In ACR, the new DNG can be found in the source folder and it will appear as a new thumbnail in the ACR dialogue window.
3. Open in Photoshop, edit and save
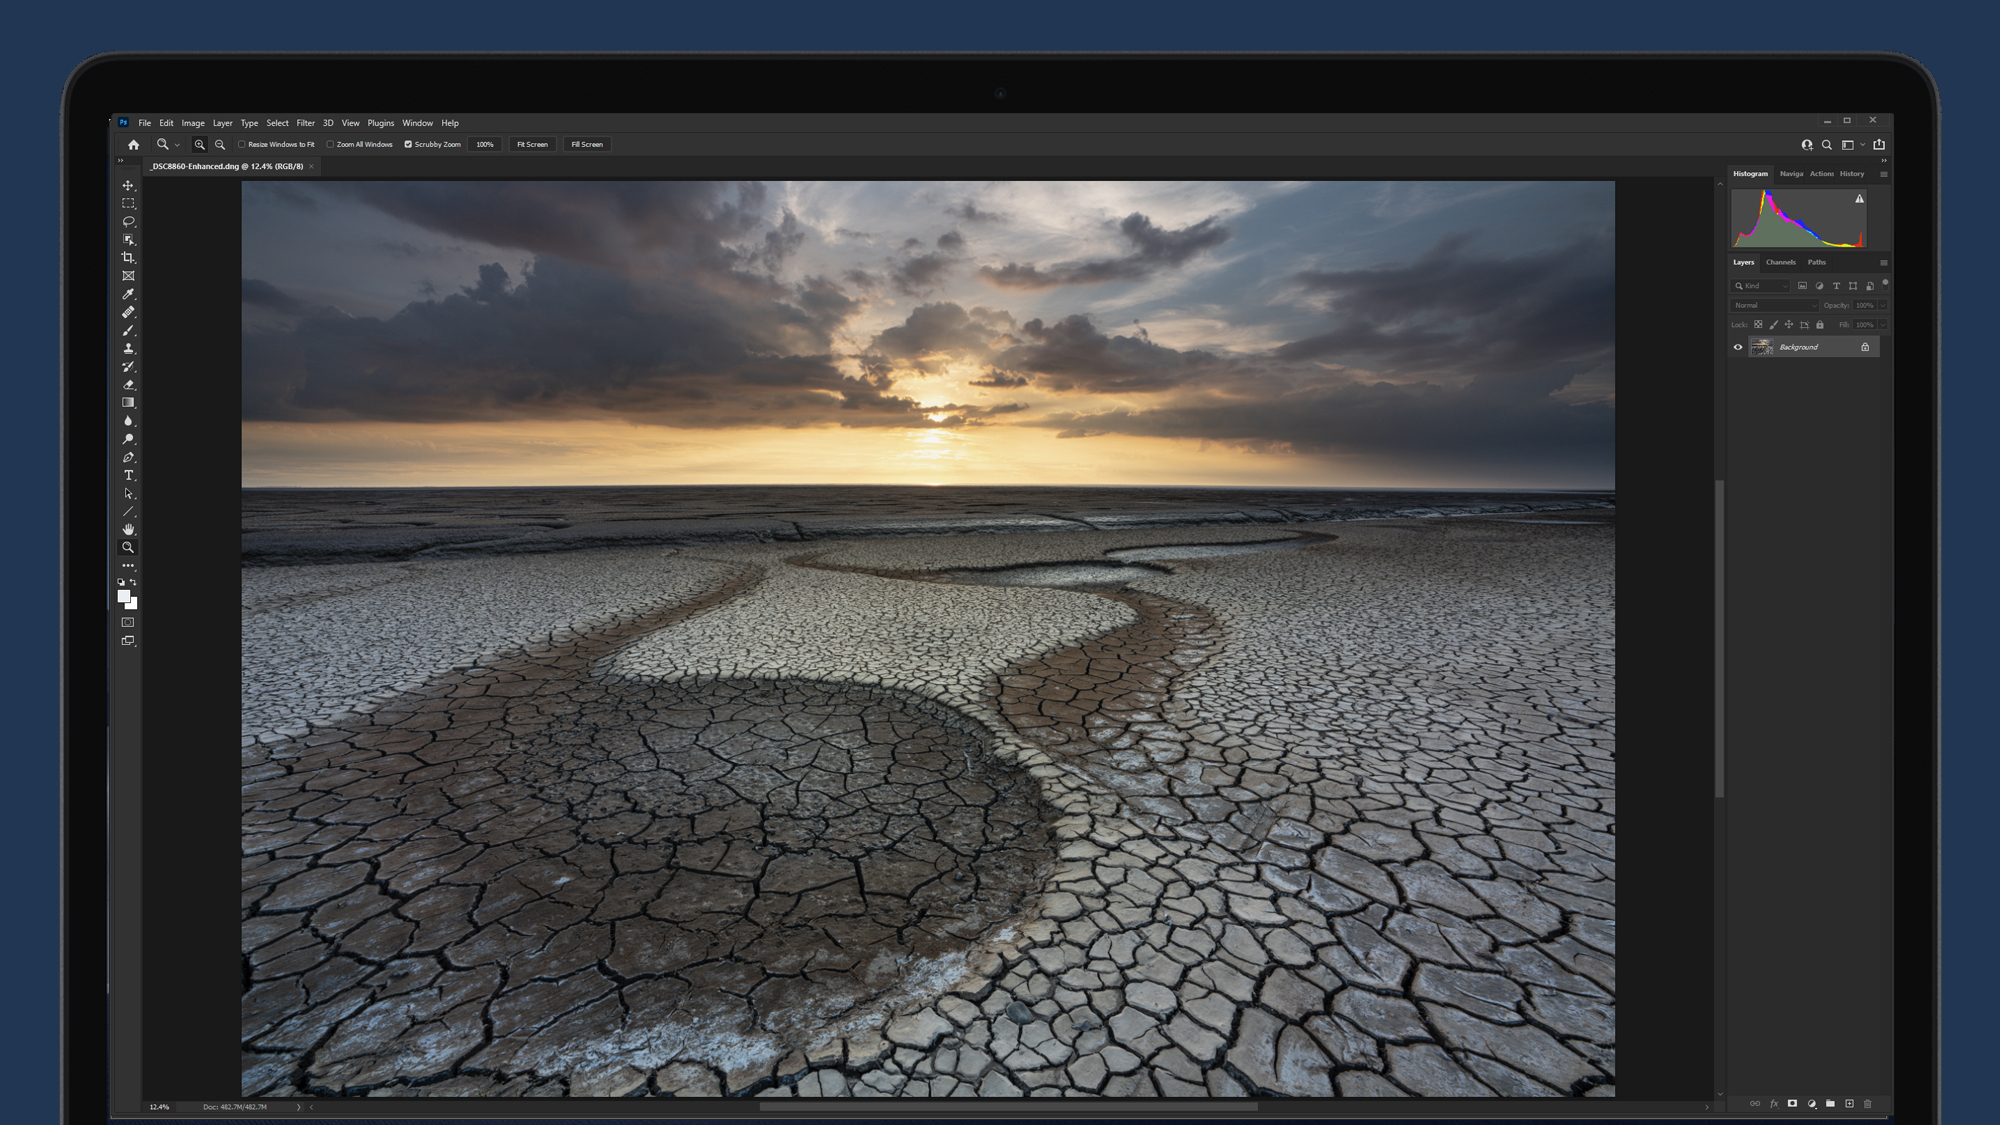
If using Lightroom you can simply Export the edited enlarged image to the desired image format and edit further in Photoshop if required. If using ACR, set your output settings by clicking on the image details at the bottom of the interface.
Then click on the Open button to open the image in Photoshop and save it in the desired file format. At this stage, you can apply any further editing required in Photoshop such as Adjustment Layers, cloning and other effects.
Further tests
Check out the video below for a closer look at Adobe's Super Resolution mode in action.
- Check out our guide to the best photo editors
from TechRadar - All the latest technology news https://ift.tt/K6jseau